Relume’s New Webflow Feature Just Made Building Websites 10x Faster
Relume just launched an epic new feature that lets you import the Relume Style Guide directly into Webflow, streamlining your workflow and making website building faster and more efficient. Learn how to use this update to build better Webflow sites and land more clients.


Step 1: Your Sitemap is the Blueprint for Your Website
Before jumping into design, you need a clear plan—and that starts with a sitemap. A sitemap gives you a bird’s-eye view of the pages and sections your site needs. Without it, you risk missing key elements, overcomplicating the structure, or underestimating the project scope.
- For your own projects, it helps you understand how everything connects and keeps the design process organized.
- For client work, it’s a crucial tool for defining scope, setting expectations, and pricing accurately. Skipping this step often leads to scope creep, misaligned expectations, and time-consuming revisions. A well-planned sitemap ensures that wireframing, design, and development happen efficiently and predictably.
How to Build Your Sitemap in Relume
Relume simplifies sitemap creation with two key features:
- AI-Powered Sitemap Generation – Describe the business and content needs, and Relume generates a structured sitemap.
- Import an Existing Sitemap – Input a URL, and Relume retrieves the current structure for modification. Once generated, you can refine it to match project needs:
- Modify the Sitemap – Add, remove, or adjust sections.
- Refine Content Descriptions – Clarify section descriptions to align with project goals.
- Get Client Approval – Confirm the structure before moving forward. A well-defined sitemap helps you accurately price projects, prevent scope creep, and streamline approvals—ensuring a smooth design process from start to finish. With your sitemap in place, the next step is wireframing, where we start shaping layouts and organizing content. Let’s dive in.
Step 2: How To Turn Your Sitemap Into Wireframes
With your sitemap in place, the next step is wireframing—translating the structure into a visual layout. At this stage, the focus is on content flow, page structure, and user experience (UX) rather than colors or design elements. A well-planned wireframe ensures that every page has a clear purpose before moving into full design. Wireframing also plays a critical role in client projects. Before they give feedback on branding or visuals, they should first approve the layout and structure. Getting this right early prevents unnecessary revisions later and keeps the project moving efficiently.
How to Create Your Wireframes in Relume
Relume makes wireframing simple and structured:
- Generate Wireframes Instantly – Click the Wireframe button, and Relume will create a wireframe for every page in your sitemap.
- Customize the Layout – Swap components, adjust sections, and refine placeholder copy to better fit project needs.
- Finalize the Structure – Ensure each page has a logical flow before moving into the design phase. Wireframing is also an important client approval milestone. By signing off on the structure now, they focus on content and layout, reducing revisions and keeping the project on track. Now that we’ve mapped out the structure, the next step is bringing in design inspiration—applying branding and styling using Relume’s Style Guide feature. Let’s dive in.
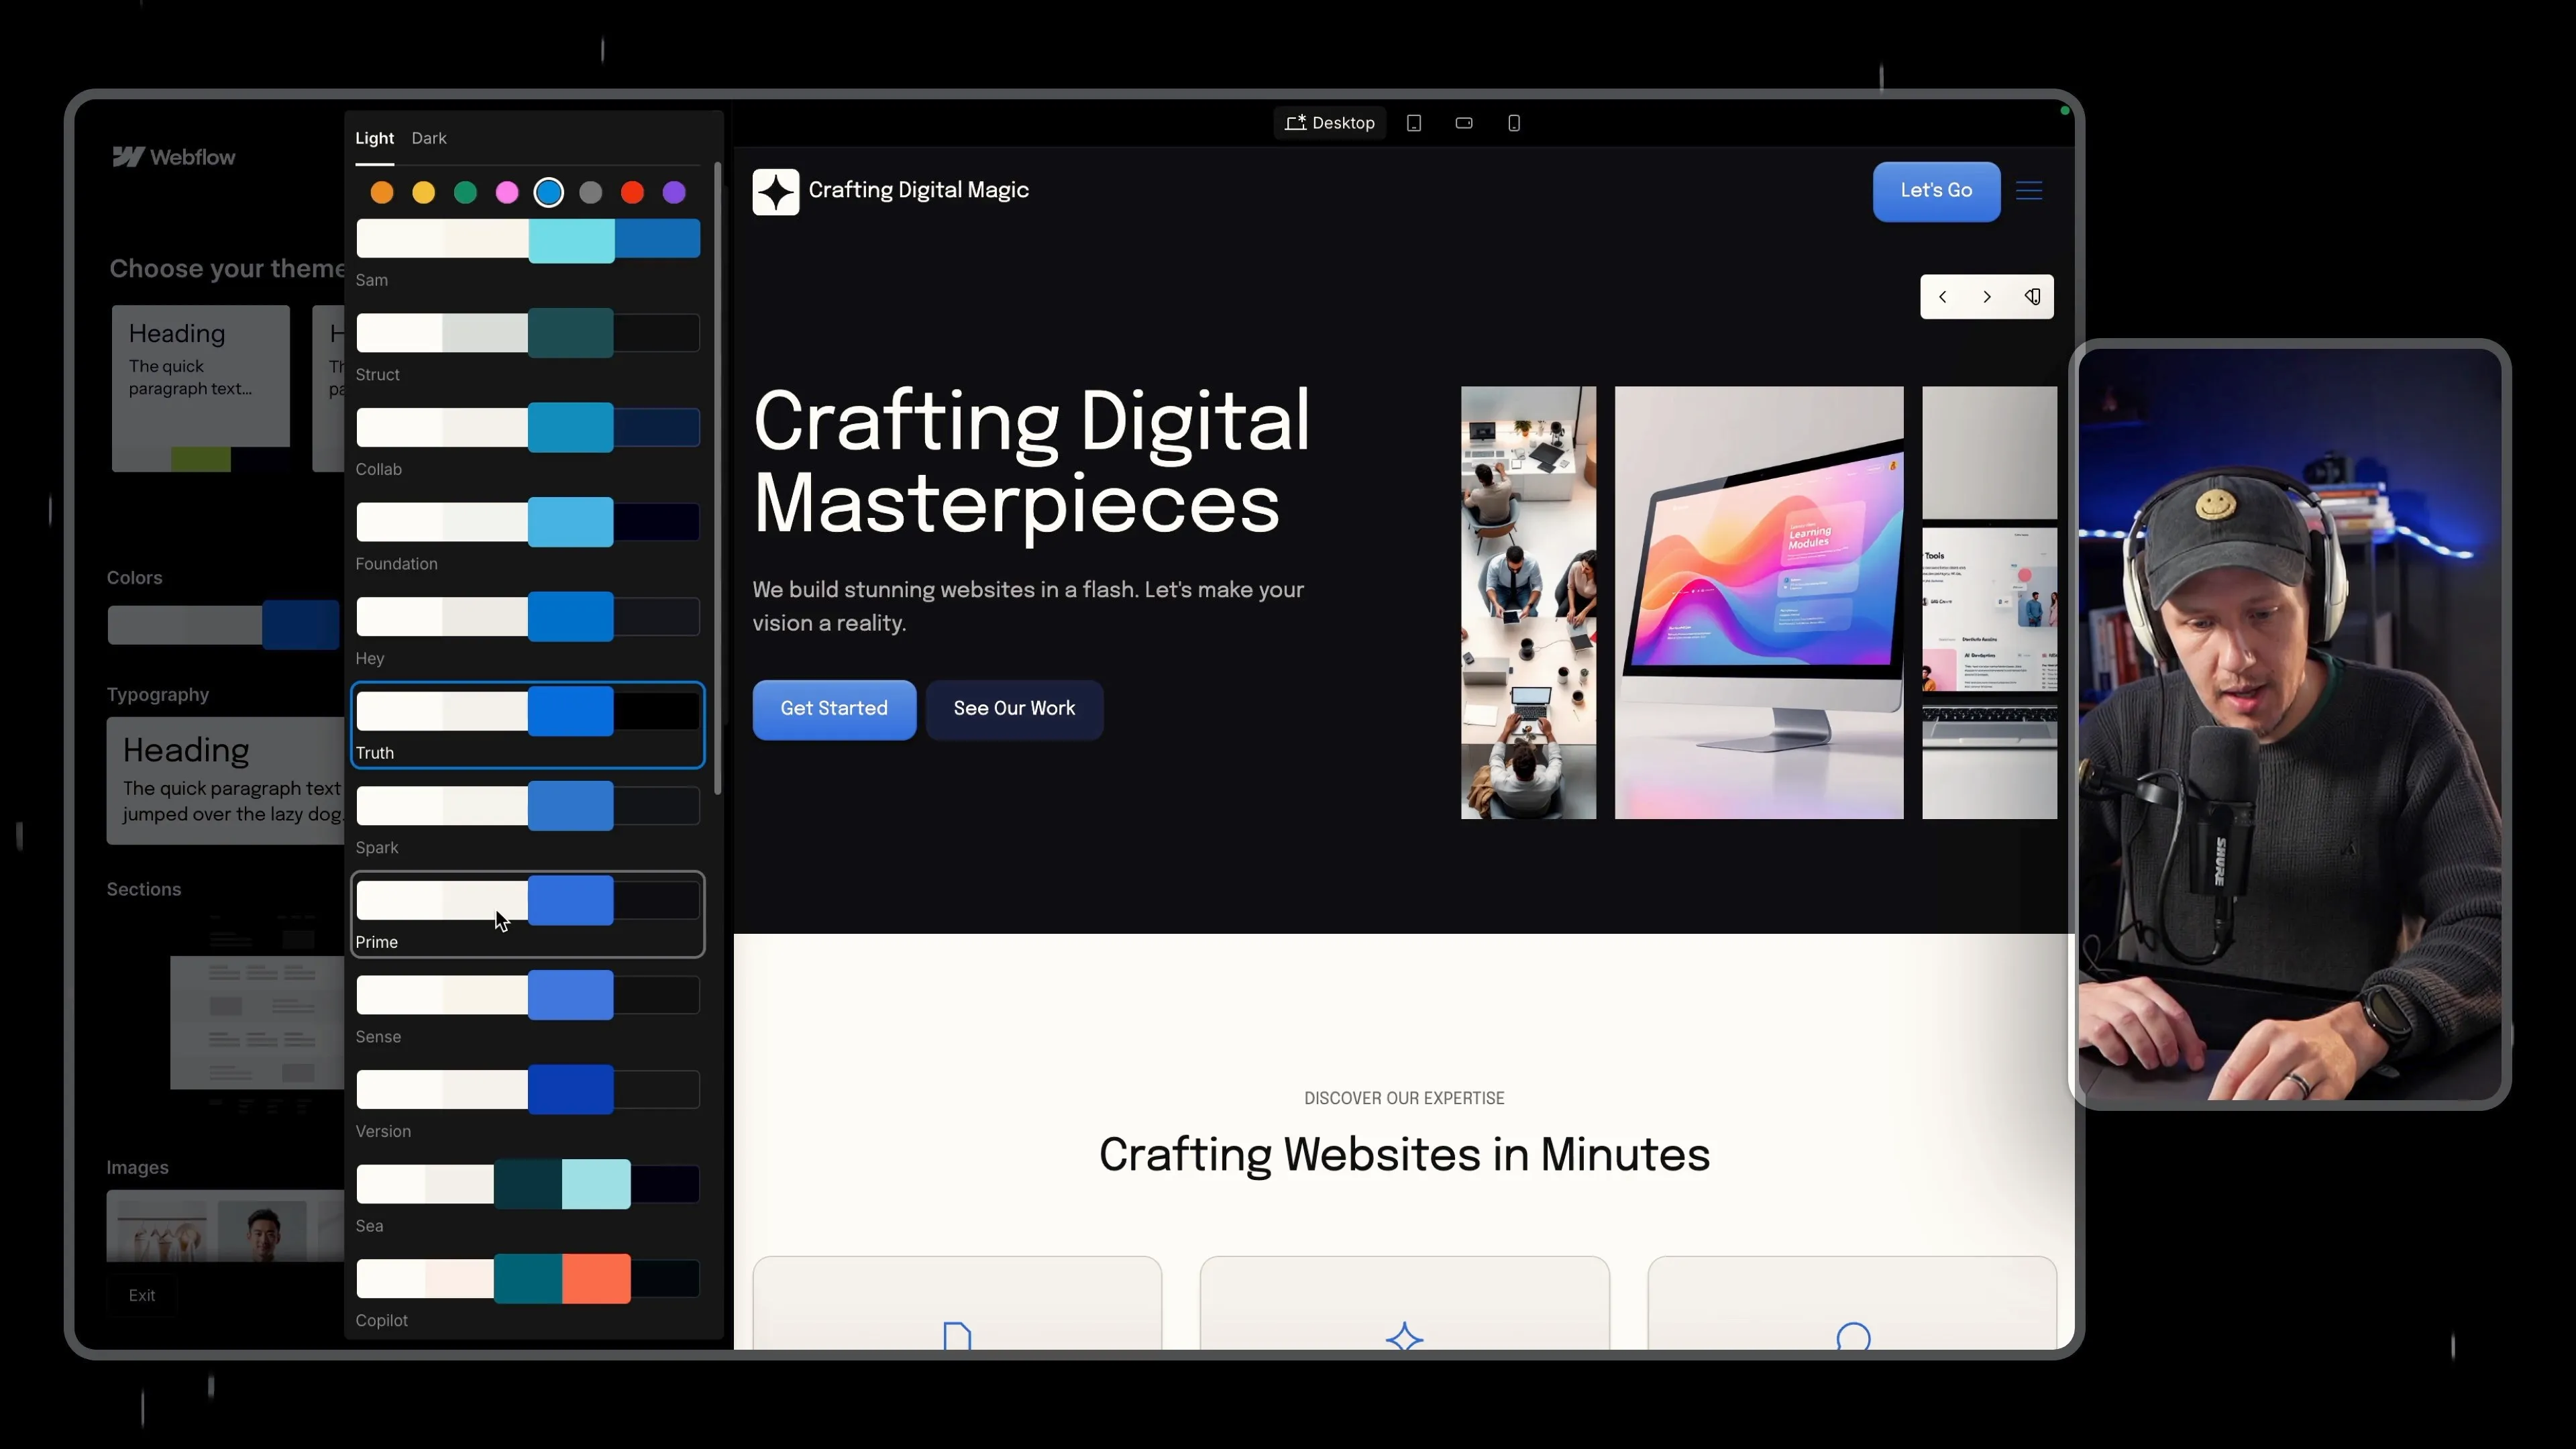
Step 3: Adding Design Elements to Your Wireframes
Now that we’ve built the wireframes, the next step is bringing in branding, typography, and colors to shape the visual direction of the site. This is where the site starts to feel like a real design rather than just a structural layout. Everyone has their own process for gathering inspiration, but I typically:
- Find Websites That Inspire Me – Take full-page screenshots and import them into Figma.
- Analyze Design Elements – Use tools like CSS Pepper to inspect fonts, colors, and UI elements.
- Collect Branding Ideas – Pull together references to define an initial design direction. Previously, applying branding was a manual process—exporting wireframes to Figma, experimenting with styles, and then recreating everything in Webflow. Now, Relume’s Style Guide Builder allows you to do all of this directly inside Relume.
How to Apply Branding in Relume
Relume makes it easy to apply design elements to your wireframes:
- Upload a Logo – Replace placeholder content with the actual site logo.
- Apply Fonts – Choose from Google Fonts or upload your own.
- Set a Color Palette – Select up to five colors, which will automatically update across the homepage preview.
- Upload Custom Photos – Start integrating the brand’s visual identity.
- Customize UI Elements – Adjust buttons, typography styles, and layout elements to match your vision. This won’t be the final design, but it gets you 80% of the way there, giving you a polished preview before even touching Webflow.
Using This Step for Client Pitches
This is also the perfect time to involve clients—especially if you’re pitching new projects. Instead of just talking about a redesign, you can show them one. A powerful cold outreach strategy:
- Find businesses with outdated or underwhelming websites.
- Build a sitemap and wireframe in Relume.
- Use the Style Guide Builder to generate a few design concepts.
- Send a personalized pitch, showing them how their site could be improved. Most cold outreach emails are generic, but demonstrating a real design concept makes your pitch stand out—increasing your chances of getting responses, booking calls, and landing projects. Now that we’ve defined the look and feel of the site, the final step is importing everything into Webflow, where Relume will generate your entire design system for easy refinement and scaling. Let’s dive in.
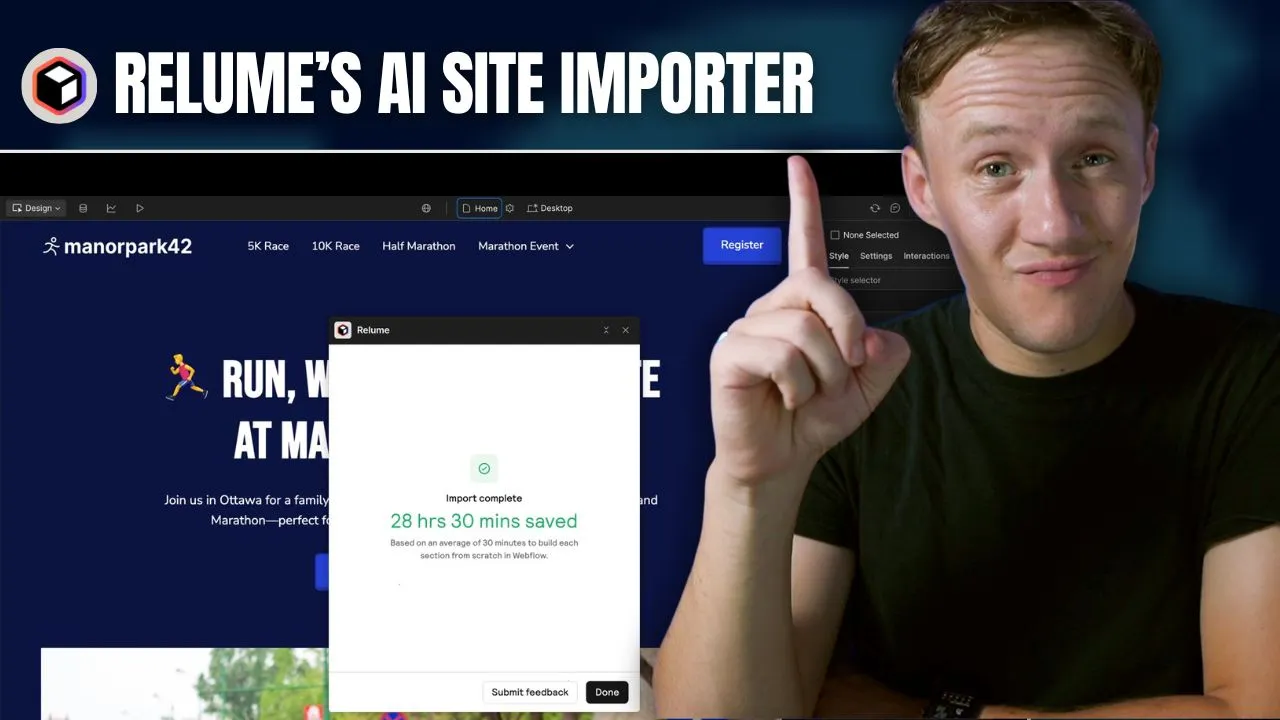
Step 4: Importing Your Designs into Webflow
Relume just shipped a game-changing feature—the Site Build Importer—making it easier than ever to bring your designs into Webflow. Previously, the biggest gap in the process was efficiently transferring your structured designs into Webflow without rebuilding elements from scratch. Now, with this new tool, that step is fully automated.
How to Import Your Designs into Webflow
- Start with the Relume Starter Project – This pre-built design system includes all the class names needed for importing components.
- Install the Relume Webflow App – This launches the Site Build Importer, the tool that pulls your designs into Webflow.
- Launch the Importer and Select Your Site – Choose which Relume project you want to import.
- Pick Your Finalized Design Concept – If you created multiple variations in the Style Guide Builder, select the final version.
- If working with a client, this is a final approval checkpoint before proceeding.
- Select Which Pages to Import – Start with just the homepage or import all pages at once.
- Click Import and Let Relume Handle the Rest – The import process takes 5–10 minutes, depending on the site size and complexity. 💡 What used to take over an hour now happens automatically, saving time and reducing manual work.
What Happens After Importing?
Once imported into Webflow:
- Your homepage is fully designed – Everything from the Relume Style Guide is applied.
- Your design system is in place – This includes colors, typography, and UI elements.
- You can quickly modify sections with "combo classes" – Instead of manually adjusting styles, you can apply pre-set themes to tweak designs efficiently. For additional pages, styles can be applied manually using combo classes, but you're already far ahead compared to building from scratch.
How To Make More Money As a Webflow Developer Using Relume
Relume isn’t just about speeding up website builds—it’s about helping you scale your business and increase profitability. By streamlining your workflow, you gain two key advantages:
- Charge less (if you want to) – Since projects take less time, you can offer more competitive pricing while maintaining solid profit margins.
- Keep pricing the same and increase profits – Clients pay for the final product, not the hours you spend. If a project that used to take 3 hours now takes 30 minutes, your per-hour earnings skyrocket.
Use Relume to Land More Clients
Beyond optimizing your workflow, Relume also helps you win more business. One of the most effective ways to stand out in client outreach is by showing, not just telling.
- Use the Relume AI Style Guide to create pitch concepts for potential clients – Instead of sending a generic cold email, build a quick sitemap, wireframe, and style guide to show them what their website could look like.
- Demonstrate value upfront – Most cold outreach is copy-paste fluff. If you present a real design concept, it proves you’ve already put in time and effort—making you far more likely to get a response, book a call, and close the deal. This isn’t just about working faster—it’s about working smarter. The more efficient your workflow, the more projects you can take on, the more value you can offer, and the more money you can make.
Ready to learn more? Check out our Playbooks for step-by-step guidance.
View PlaybooksContinue Reading