
A Beginner's Guide To Pre-Launch Landing Pages
Build a pre-launch page with Webflow, Airtable, and Zapier, then check form mapping, duplicate handling, and the promised signup outcome.
 Webflow
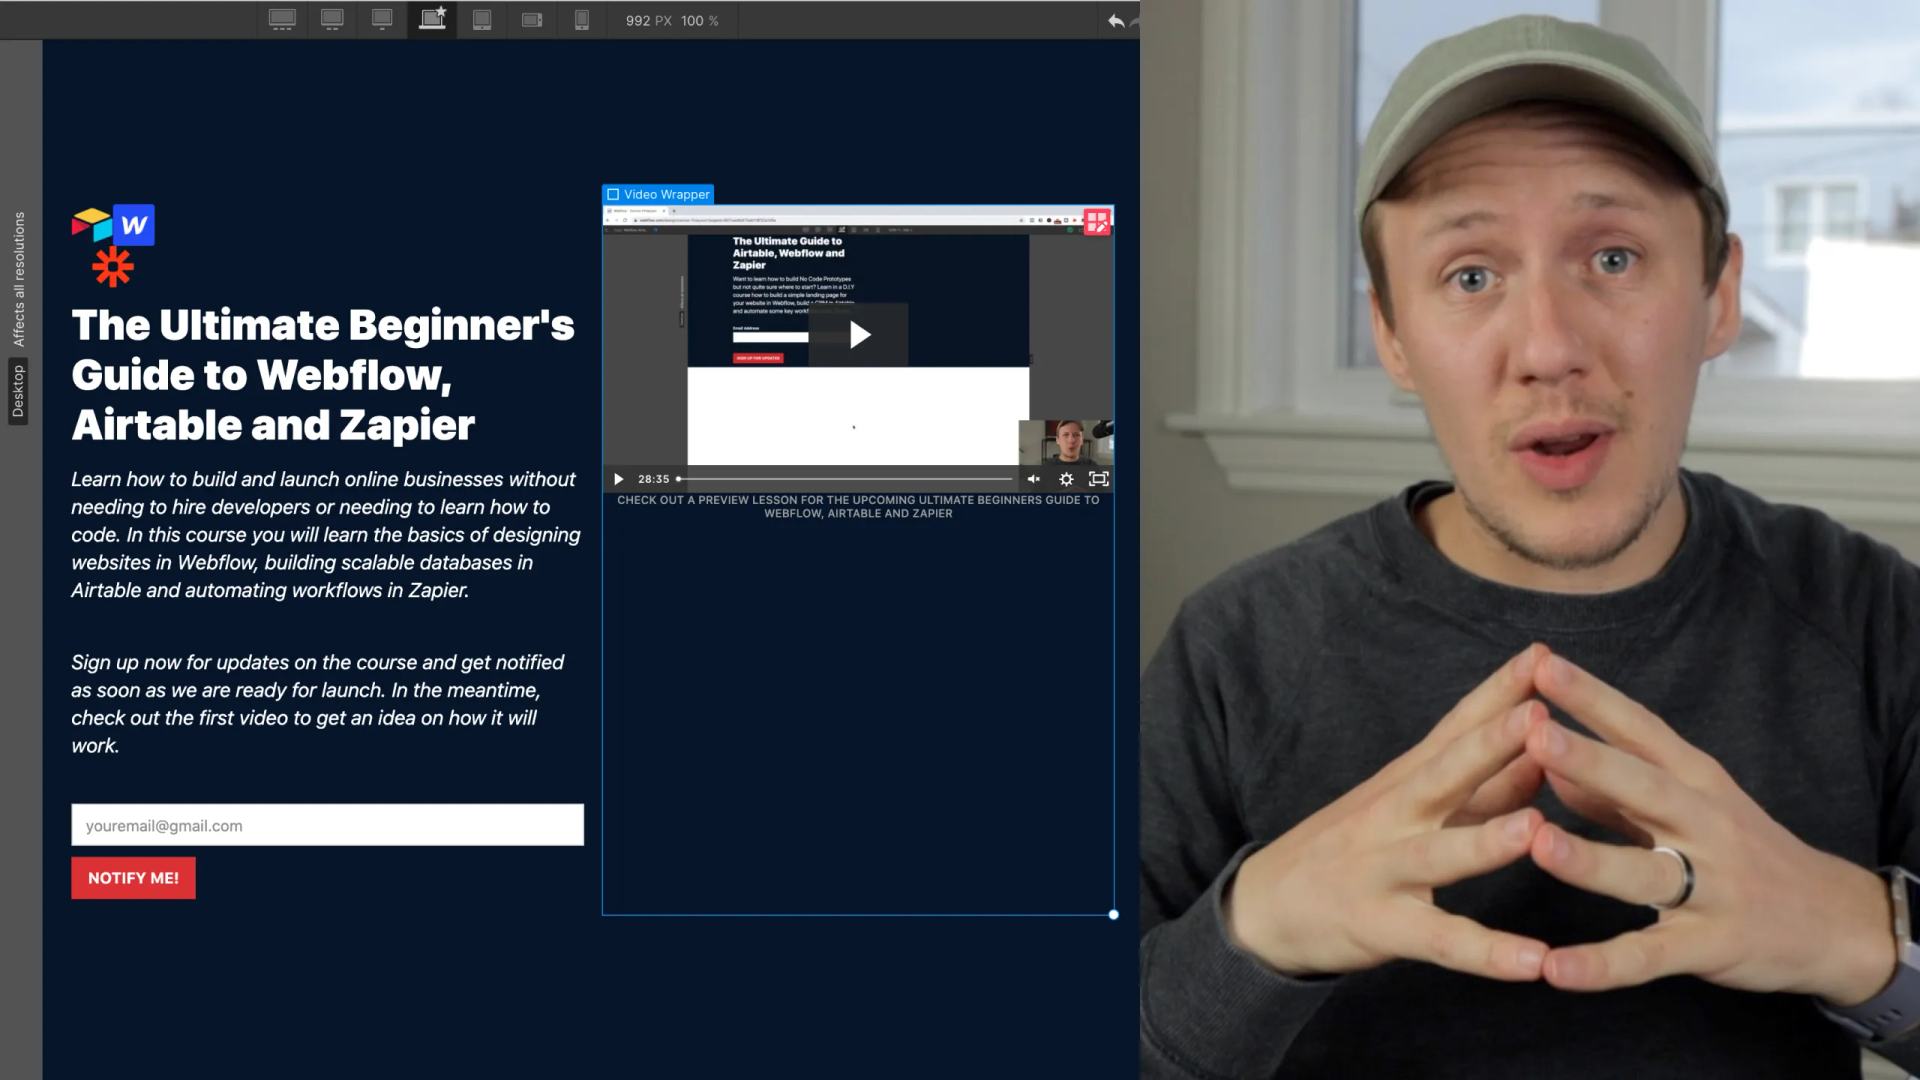
A pre-launch landing page gives visitors one clear offer and one signup action. The original April 2021 video builds that page in Webflow, stores leads in Airtable, and connects them through Zapier. Use the recording for the full build. The checklist below explains the data flow and test result.
Prepare the page and lead table
Write the offer, who it helps, and what happens after signup.
Build a page with a heading, short explanation, and form.
Create an Airtable table with Name, Email, Submitted At, Source, and Submission ID.
Add a separate permission field if you request optional marketing emails.
Do not treat a test signup as permission to start another email sequence.
Connect the form to Airtable
Connect Zapier to the intended Webflow site and form. Zapier needs a sample submission before it can expose that form's fields. Use an address you control for the sample. Map the form fields to the matching Airtable fields. Zapier's current Webflow guide explains its form trigger.
Keep the Webflow submission ID where the trigger exposes one. Use it to find an existing record before creating another. If your trigger lacks a stable ID, define how repeated submissions should be handled before enabling the workflow.
Verify one submission
Submit the test form once and inspect the trigger data. Confirm one Airtable record contains the right email, timestamp, and source. Replay the same event and confirm it does not create another record. Check the success message on desktop and mobile. If the record is missing, inspect the trigger and mapping before sending more submissions.
The confirmation message should explain what happens next. If you promise an email, test its delivery separately using a permitted recipient.
Original video chapters
- 00:00 Intro
- 02:00 Building your landing page in Webflow
- 09:05 Styling your landing page sections
- 19:18 Setting up an Airtable base for your leads
- 22:02 Sending form submissions from Webflow to Airtable with Zapier
The original demo page was learn-webflow-airtable-zapier. It is a historical project reference, rather than the current signup destination. After this first flow, use the five-stage MVP process for your next feature.
Keep learning
More guides, free videos and course access for existing members, all in one place.
Go to LearnRather have it built for you?
We'll match you with vetted agentic talent who build it with AI, inside the tools you already use.
Schedule a callRelated posts

Build Custom AI Agents for Other Businesses
Scope a custom business agent around one workflow, approved sources, read-only testing, and human review.
How to Build Custom Webflow CMS Features with ChatGPT & AI
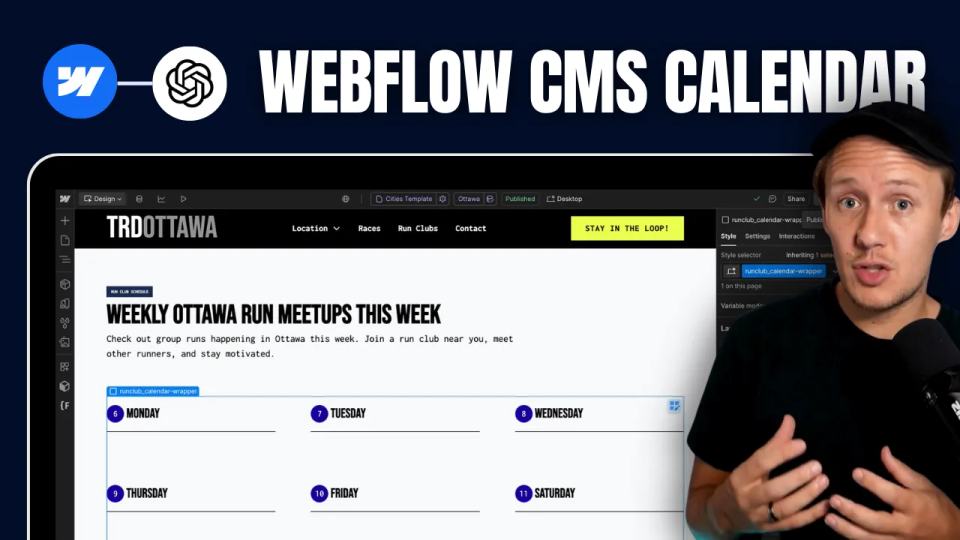
I built a weekly calendar for The Running Directory Canada using Webflow CMS content and ChatGPT-assisted JavaScript. The calendar grouped run-club events by weekday and moved today's day to the front.
How to Map Common Airtable Fields to Webflow CMS
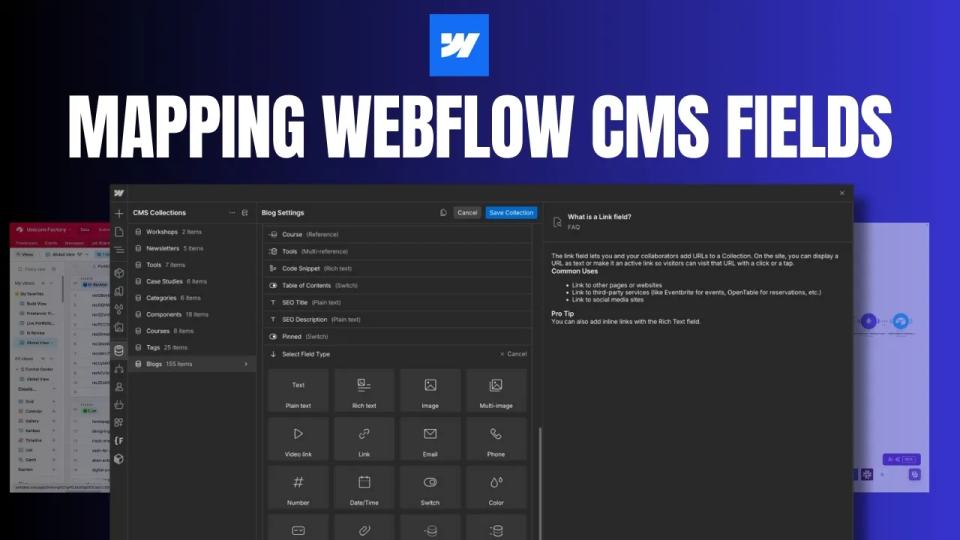
Map Airtable values to Webflow CMS types using option IDs, image objects, deterministic rich text, and staged JSON examples.