How To Set Up User-Specific Links in Memberstack
Learn how to create user-specific links on your Webflow membership site using Memberstack. This step-by-step guide will walk you through setting up and embedding custom code to personalize user experiences.
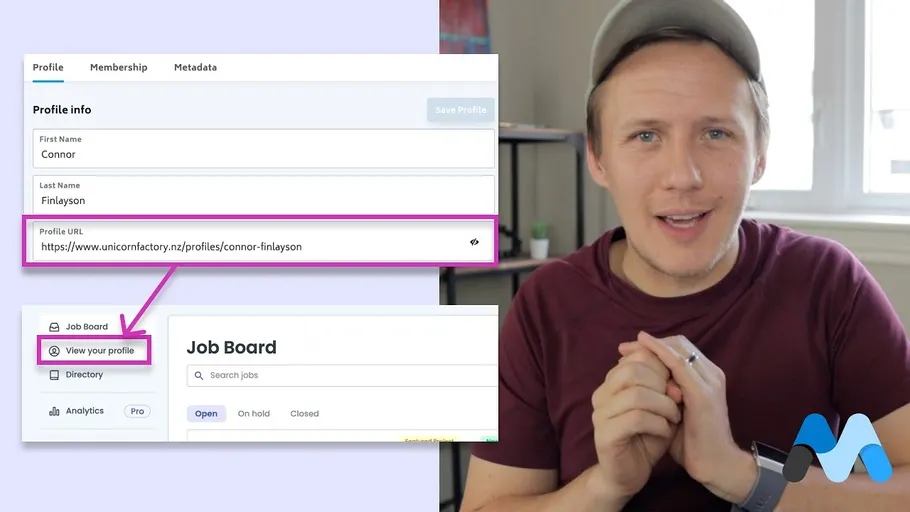

Use Case: View Profile Link
The use case I discuss in this video is when a user wants to view their profile from inside of the freelancer dashboard but this exact them process can be used for a variety of workflows.
How to set up the link element in Webflow
Apply a custom attribute to the link element and give the attribute a name (for example "profile-url") and then set the value to true.
Embed Custom Code
Embed the following code in the footer of your custom code section inside of your Webflow projects settings.
MemberStack.onReady.then(function(member) { var url = member["profile-url"] var els = Array.from(document.querySelectorAll("[profile-url]")) for (var el of els) { el.href = url } }) LINKS 🔗 Tutorial + Code Snippet: https://www.connorfinlayson.com/youtube/how-to-add-user-specific-links-to-your-webflow-memberstack-sites 🚀 MVMP Course: https://www.connorfinlayson.com/mvmp-launchpad If you are using Memberstack to run a membership site on Webflow, you will know that you can use custom attributes to store member data like their names, plans, or signup dates in Webflow. But what about links? How can you turn a Webflow element into a link that is stored inside of Memberstack? In today's video, I will show you how to do that. TIMESTAMPS: 00:00 Overview 01:17 Use Case: View Profile Link 02:23 How to set up the link element in Webflow 03:49 Embed Custom Code
Ready to learn more? Check out our Playbooks for step-by-step guidance.
View PlaybooksContinue Reading