
Airtable Interfaces: How To Build Custom Interfaces For Your Team
Build an Airtable client interface with controlled editing, a complete Make webhook script, and limited record tests.

 Airtable
Clients need to update their directory without changing the fields that power your workflows.
I have found direct Airtable and Webflow editing overwhelming for clients new to these tools. An Airtable interface narrows their editing tasks.
Choose fields and permissions
Connect an interface page to the table your client manages. Show useful fields such as listing name, description, and approval status.
Make Webflow ID and Slug read-only. Changing these fields can break record matching and existing links.
Hidden fields alone do not establish access control. Review the client’s base, workspace, and interface permissions together.
Separate interface sharing requires a paid plan. Check Airtable’s interface permissions before inviting your client.
Use interface-only access where appropriate. Test the actual invited role rather than relying on the creator’s preview.
Connect the interface button
Add a Run automation button on a supported record layout. Connect it to When a button is clicked.
The selected record supplies the trigger’s Airtable record ID. Name the script input variable recordId and map that ID into it.
Add a second input named webhookUrl. Set its value to a private Make custom webhook URL from your test scenario.
Airtable’s button guide explains layout and role requirements.
Send the record ID to Make
Add Run a script to your automation. Use this complete example:
const { recordId, webhookUrl } = input.config();
if (typeof recordId !== 'string' || !/^rec[\w]+$/.test(recordId)) {
  throw new Error('A valid Airtable recordId is required.');
}
const target = new URL(webhookUrl);
if (target.protocol !== 'https:') throw new Error('Use an HTTPS webhook.');
const response = await fetch(target.href, {
  method: 'POST',
  headers: { 'Content-Type': 'application/json' },
  body: JSON.stringify({ recordId })
});
if (!response.ok) throw new Error(`Webhook failed: ${response.status}`);
output.set('accepted', true);
This only confirms the webhook accepted the request. Check Make’s execution history to confirm the remaining actions.
See Airtable’s script action guide for plan and interface input limitations.
Keep the webhook URL outside client-editable fields. A webhook URL alone does not authenticate the requester.
Retrieve and validate the record
In Make, use the webhook’s recordId with Airtable’s Get a record action. Retrieve the current values there.
Confirm the record belongs to the expected table and client. Recheck approval status before writing to Webflow.
Use the saved Webflow ID to update an existing item. Create an item only when your workflow has no previous mapping.
Record the new item ID before allowing another create request. Use a durable queue when concurrent requests can create duplicates.
Run a limited test
Use a copied base and a test Webflow collection. Disable email and payment actions in the test scenario.
Click the button on one tagged test record. Compare its Airtable ID, Make input, and resulting Webflow item ID.
Change its description and run again. Confirm one item changes and no second item appears.
Test the invited client role, a denied role, and a record outside the client’s scope. Stop on any unexpected write.
Original video
Keep learning
More guides, free videos and course access for existing members, all in one place.
Go to LearnRather have it built for you?
We'll match you with vetted agentic talent who build it with AI, inside the tools you already use.
Schedule a callRelated posts

Circle AI Agents Review: Automate Community Management with AI
Read my Circle AI Agent tests, current plan notes, and a support-demand method for evaluating cost and answer quality.

How to Import Relume Styles and Pages into Webflow
Approve a Relume sitemap and style direction, import one page into Webflow, and check classes, content, and accessibility.
Webflow AI Site Builder: My HueSync First Look
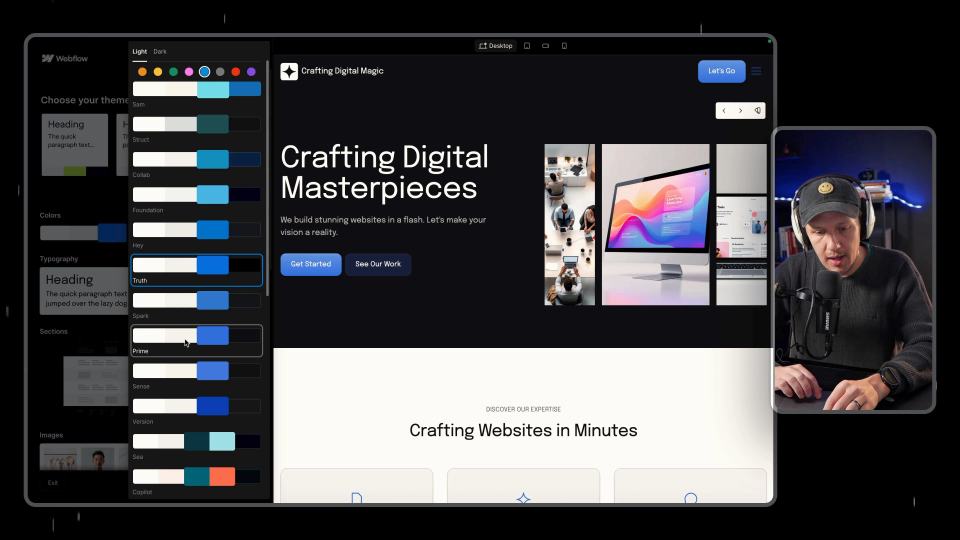
I used a fictional Canadian agency, HueSync, to explore Webflow's AI site builder. The first look showed a useful starting layout, followed by editing work inside Webflow. I still needed to review the copy, images, forms, and mobile spacing.