
How I Automate Onboarding On My Freelancer Marketplace
Explore my historical freelancer onboarding system, with review states, identity binding, publication checks, and recovery paths.
 Airtable
 Webflow
 Zapier
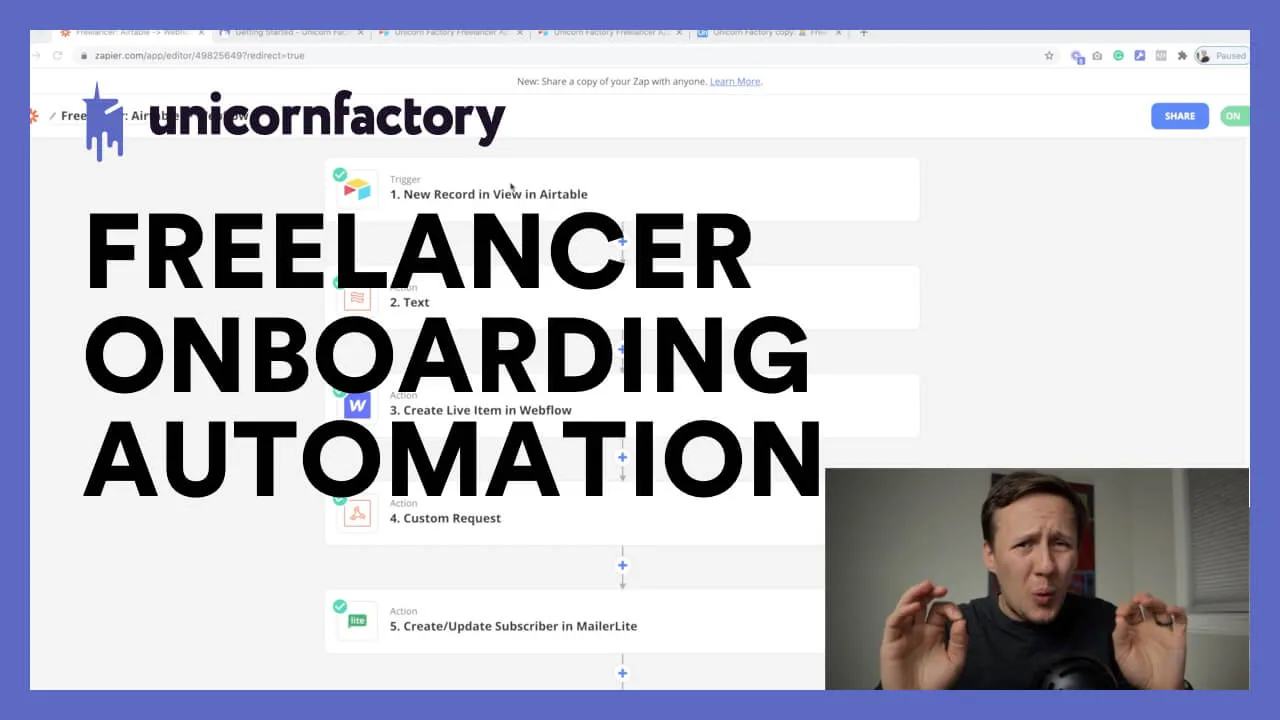
Watch: How I Automate Onboarding On My Freelancer Marketplace
This historical guide shows the three stages of my Unicorn Factory freelancer onboarding system: applications, approval, and announcements. Automation carries reviewed data between tools. It does not replace the application review.
Step 1: Handling Freelancer Applications
The onboarding journey begins when a freelancer applies to join the platform. Here’s how I automated this step:
-
Setting Up Applications with Memberstack and Airtable
- Freelancers sign up through Memberstack and are redirected to an Airtable form.
- The form collects essential details like name, portfolio links, and case studies.
- Submissions automatically create a new record in Airtable.
-
Automating Status Updates in Airtable
- Zapier triggers an update to mark new applications as "Needs Review."
- This moves the record into a dedicated Airtable view for easy tracking.
-
Sending Onboarding Emails
- MailerLite sends a sequence of emails to freelancers with tips on creating strong profiles.
- These emails explain what information I want freelancers to provide, including case studies.
-
Slack Notifications for Oversight
- A Slack notification is triggered to alert me of new applications. This keeps me in the loop without needing to check Airtable constantly. Pro Tip: Slack notifications are a lifesaver when managing multiple workflows. They provide real-time updates and help you stay organized. For more insights, check out How to Automate Your Marketplace with Make.com.
Step 2: Approving Freelancers
Once a freelancer’s application is reviewed, the next step is to approve them and prepare their profile for the platform. This process involves several automations:
-
Reviewing Applications
- Applications in Airtable’s “Needs Review” view include all necessary details.
- I review bios, portfolio links, and other details to ensure quality.
-
Approving and Mapping Data
-
Handling Multi-Reference Fields
- For advanced setups, like linking skills or services, custom code is used to manage multi-reference fields in Webflow. Learn more in The Complete Guide to Mapping Airtable Fields in Webflow.
-
Email and Community Invitations
- Approved freelancers are moved to a “Live” segment in MailerLite and added to a welcome email sequence.
- They’re also invited to join our community on Circle for networking and resources. Important Note: Always update Airtable records with Webflow Item IDs after creating profiles. This ensures future updates to profiles can be updated by a defined workflow.
Step 3: Announcing New Freelancers
The final step in the onboarding process is to announce new freelancers to the world. Here’s how that works:
-
Updating Active Freelancer Views
- When a freelancer’s status changes to “Active Profile,” they’re added to the “Active Freelancer” view in Airtable.
- This view provides an overview of all live freelancers.
-
Automating Social Media Announcements
- Zapier pulls data from Airtable to generate a Twitter post announcing the new freelancer.
- Posts include key details like name, skills, and a link to their profile.
-
Providing Profile Links
- Memberstack is updated with the freelancer’s profile link. This allows freelancers to view and share their profiles directly from their dashboard. Pro Tip: Review the announcement and account destination before scheduling it. For a deeper dive into job board automation, read How to Build a Fully Automated Job Board with No-Code Tools.
Best Practices for Setting Up Automation
- Start Simple: Begin with basic workflows like syncing application data to Airtable. Add complexity as needed.
- Keep Records Synced: Always store unique identifiers (like Webflow Item IDs) in Airtable for easier updates.
- Test and Refine: Regularly review your automations to ensure they’re running smoothly and adjust as your needs evolve.
Make the states explicit
This is a historical Unicorn Factory workflow. Its tools and menu names describe that version of the platform. Keep the three stages: application, approval, and announcement. Human review remains part of approval.
Submitted → Needs Review → Approved → CMS Draft → Live → Announcement Ready
                    ↓                       ↓
               Rejected                Sync Failed
Store Member ID, Application ID, Freelancer ID, Review status, Reviewed by, Webflow item ID, and Last error.
Only reviewers can set approval state. Applicants must not edit approval or destination IDs.
Bind the application to the verified member identity. A hidden form field alone is not proof of identity.
Before creating a CMS profile, check whether this application already has a Webflow item ID. A retry updates the same item. Do not create a second profile after a timeout without checking the destination. Rejected applications stay outside publication, welcome invitations, and announcements.
Use separate sent timestamps for each email, community invitation, and social announcement. A failed invitation should retry its own step without republishing the profile. Test one approved application, one rejection, a repeated submission, and a CMS failure using copied test records. Use the marketplace data guide to define those records before adding more workflows.
Keep learning
More guides, free videos and course access for existing members, all in one place.
Go to LearnRather have it built for you?
We'll match you with vetted agentic talent who build it with AI, inside the tools you already use.
Schedule a callRelated posts

Build Custom AI Agents for Other Businesses
Scope a custom business agent around one workflow, approved sources, read-only testing, and human review.
How to Use AI in Your Marketplace
Explore AI job drafts, support drafts, and marketplace recommendations, with human review and specific measures for assessing usefulness.
How to Use Stripe for Marketplace Payments
Stripe can collect your platform's own fees or support payments involving independent sellers. Those require different designs.