
How To Use "Line Clamping" in Webflow
Apply two- and three-line CSS clamping to Webflow card previews, with correct style placement and small-screen checks.
 Webflow
Watch: How To Use "Line Clamping" in Webflow
Uneven card text is one of those small Webflow design problems that makes a whole grid feel sloppy. Line clamping fixes it by cutting descriptions off after a set number of lines and adding an ellipsis.
What You'll Need
- A Webflow project with CMS collection cards (or any repeating text blocks)
- Access to Project Settings → Custom Code or a global stylesheet embed on your page templates
Why Line Clamping Matters
If you run a directory, job board, or marketplace, your listing cards probably pull descriptions from the CMS. Some listings have one line of copy. Others have five.
Without line clamping, card heights jump around and your grid looks broken — especially on mobile.
Line clamping lets you:
- Cap text at 2–3 lines with
...at the end - Keep card heights consistent across breakpoints
- Stop manually trimming copy in the CMS
Step 1: Add the CSS Classes
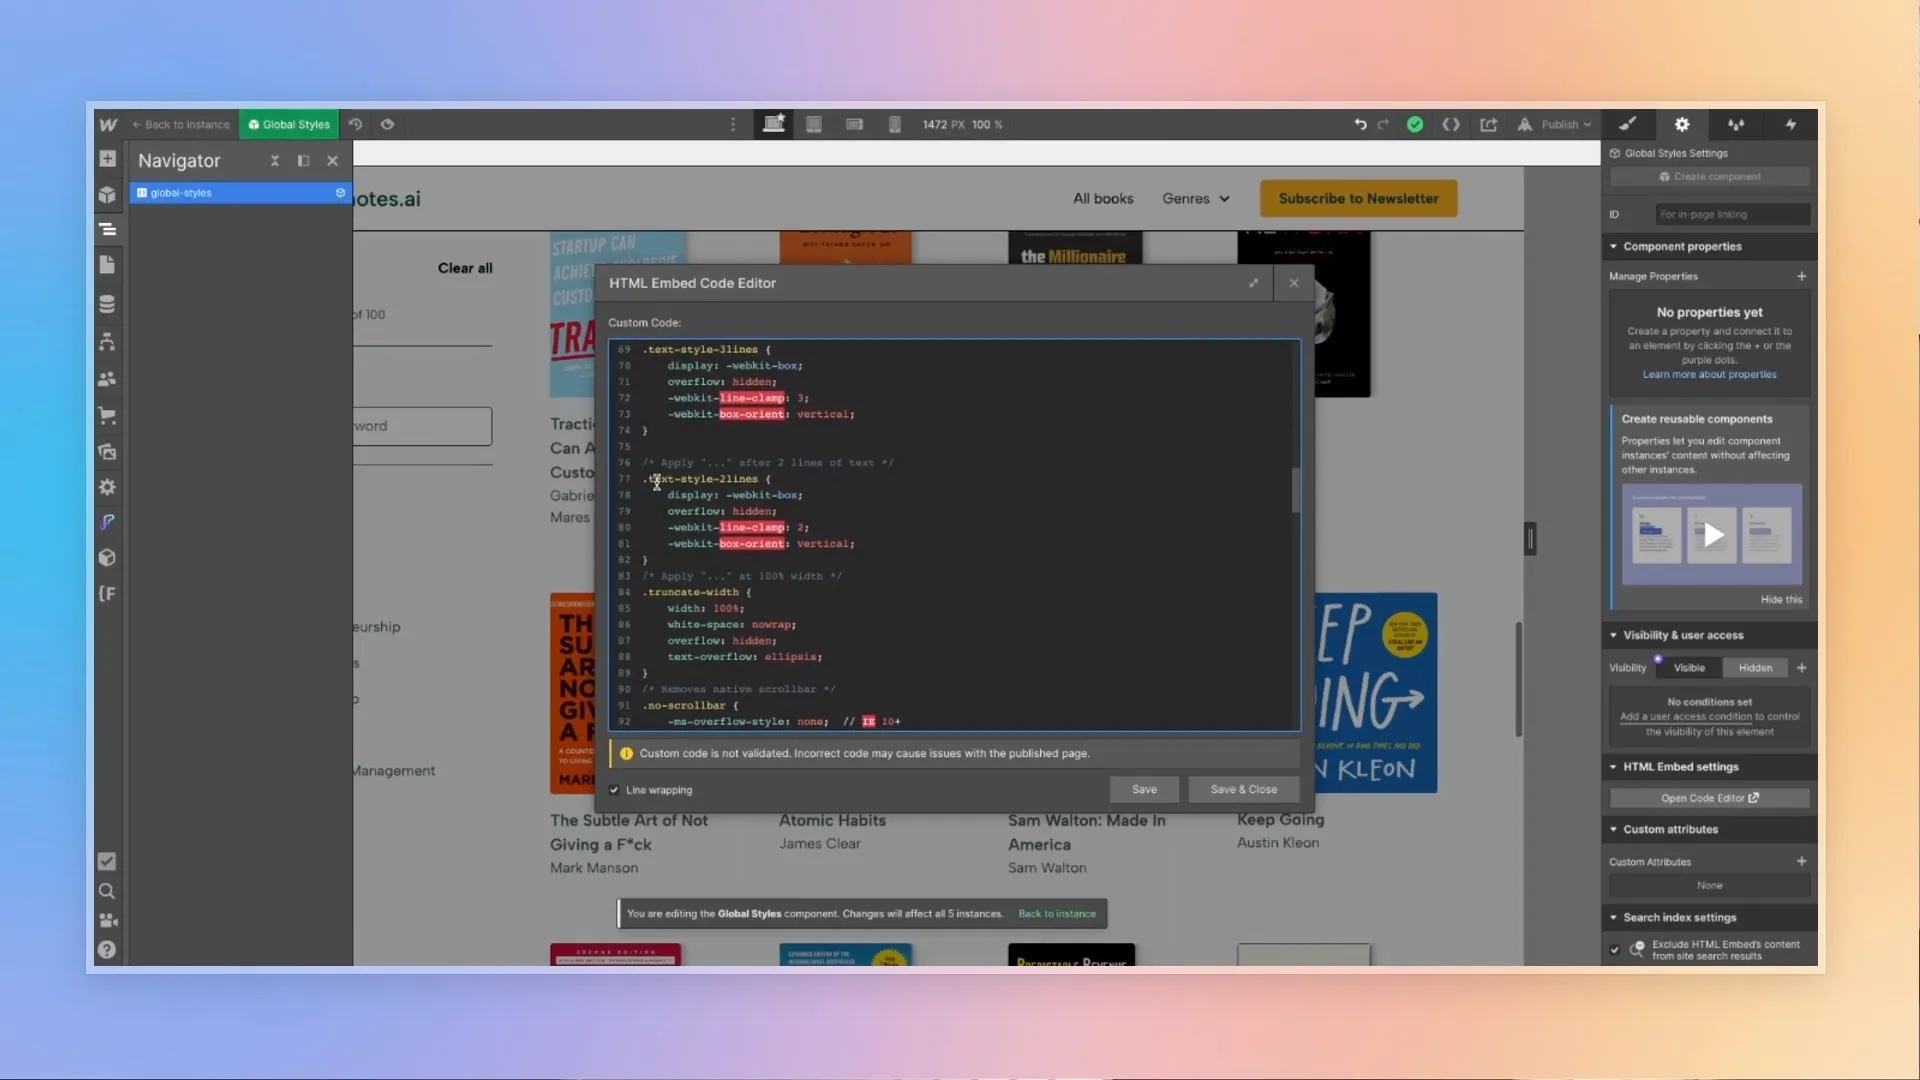
This CSS applies an explicit two- or three-line limit. I usually place reusable styles in a global-styles embed.
In a Custom Code HTML field, wrap the CSS in <style> and </style> tags.
In a stylesheet file, use the CSS directly.
.text-style-2-lines {
  display: -webkit-box;
  -webkit-line-clamp: 2;
  -webkit-box-orient: vertical;
  overflow: hidden;
}

.text-style-3-lines {
  display: -webkit-box;
  -webkit-line-clamp: 3;
  -webkit-box-orient: vertical;
  overflow: hidden;
}
Change -webkit-line-clamp to however many lines you want. Create separate classes for 1-line, 2-line, and 3-line layouts so you can reuse them across templates.
Step 2: Apply the Class in the Designer
- Select the text element inside your collection card (description, excerpt, or summary).
- Add a combo class — e.g.
text-style-2-lines. - Publish and check the live site.
The text cuts off after the second line and shows an ellipsis automatically. No manual line breaks required.
Where to Put the Code
Option A — Global stylesheet embed (best for larger sites) Include the embed on every template that uses these classes. An embed appears only on pages where you include it.
Option B — Project custom code
Paste the CSS inside <style> tags in the site Head Code field. Publish and inspect the actual page.
Key Takeaways
- Line clamping keeps CMS card grids visually consistent
-webkit-line-clamp+overflow: hiddenis the standard approach- Build reusable utility classes instead of one-off styles per card
- Works on collection cards, blog excerpts, marketplace listings, and any repeating text block
Check the published card at different widths
Webflow’s text controls cover wrapping and truncation. This snippet supplies an explicit multi-line limit when you need that behavior. Keep the full description on the listing detail page.
Test the card at desktop width and around 390px. Include a short description, a long description, a long unbroken word, and text at increased browser zoom. The number of visible words changes with width, font size, and line height. Clamping controls the preview, not the stored CMS text. Do not hide essential price, eligibility, or action information inside a clamped excerpt.
Keep learning
More guides, free videos and course access for existing members, all in one place.
Go to LearnRather have it built for you?
We'll match you with vetted agentic talent who build it with AI, inside the tools you already use.
Schedule a callRelated posts

Build Custom AI Agents for Other Businesses
Scope a custom business agent around one workflow, approved sources, read-only testing, and human review.
How to Build Custom Webflow CMS Features with ChatGPT & AI
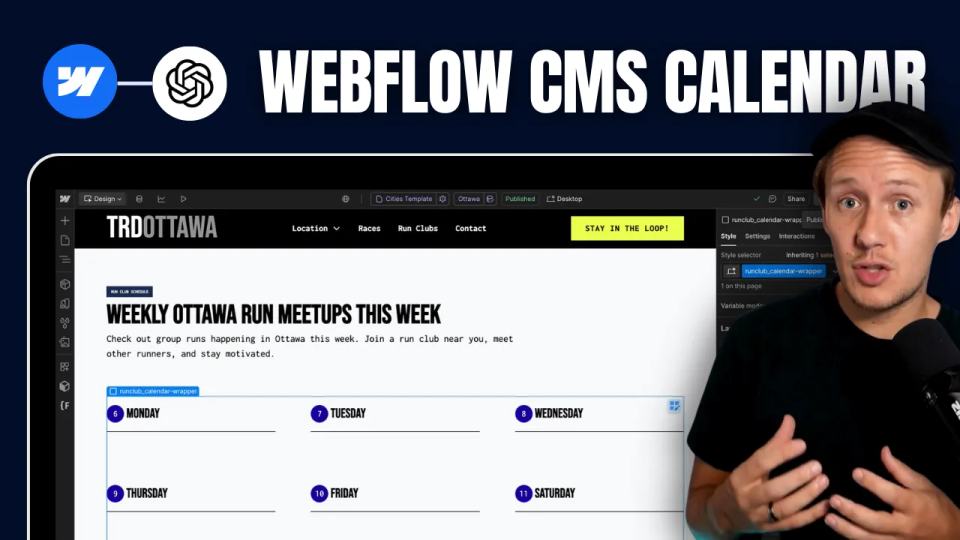
I built a weekly calendar for The Running Directory Canada using Webflow CMS content and ChatGPT-assisted JavaScript. The calendar grouped run-club events by weekday and moved today's day to the front.
How to Map Common Airtable Fields to Webflow CMS
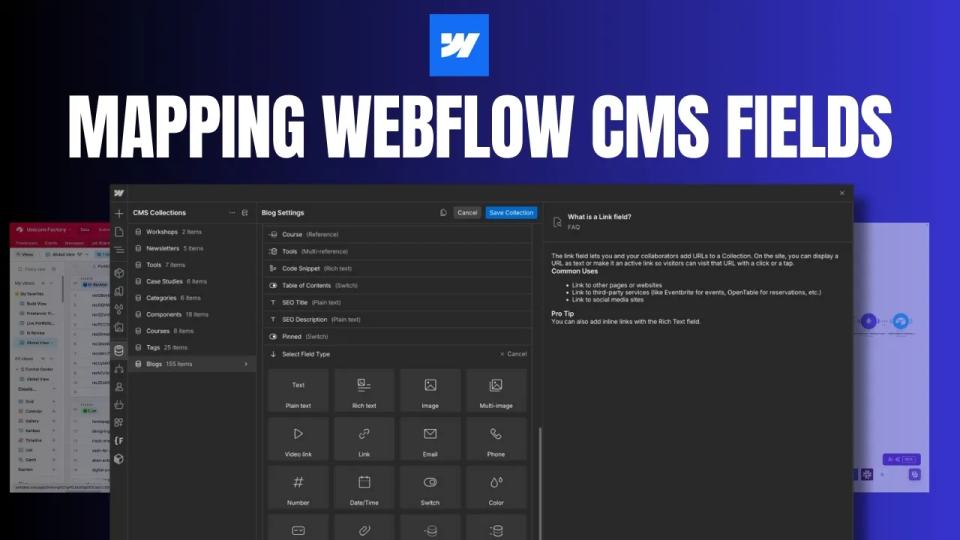
Map Airtable values to Webflow CMS types using option IDs, image objects, deterministic rich text, and staged JSON examples.