
How to Automate Webflow CMS Updates with Airtable and Make.com: A Complete Guide
Create and update Webflow CMS items from Airtable through Make, with stored IDs, staged JSON, duplicate handling, and recovery checks.
 Webflow
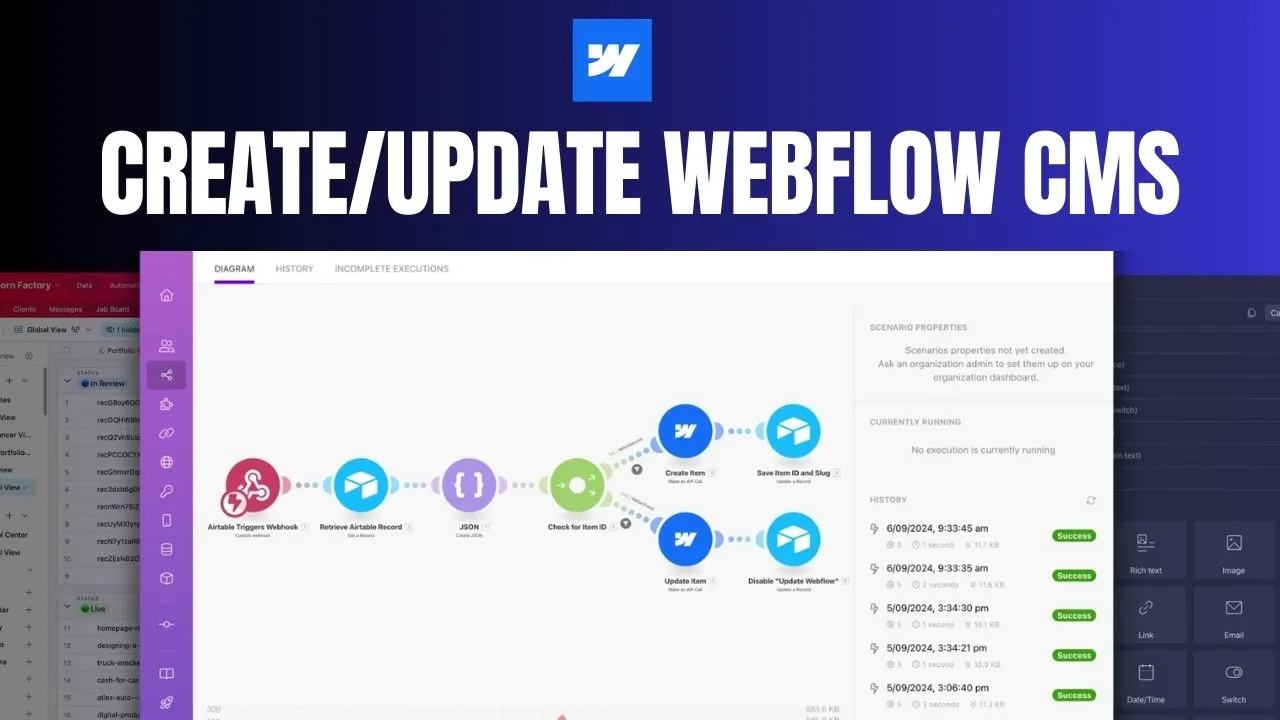
This workflow sends an approved Airtable record to Webflow through Make. It creates a new item once, then uses the stored Webflow ID for later updates. Start with a test collection and one record before connecting a live publishing flow.
1. Trigger the selected Airtable record
Configure an Airtable automation or button to send the record ID to a Make webhook.
A webhook does not automatically subscribe to every Airtable change.
Choose the exact trigger condition, such as Update Webflow becoming checked.
The webhook guide explains the trigger pattern.
Do not put private customer content into a webhook URL. Retrieve the current record from Airtable using its ID after the trigger arrives. Check the record still meets your approval condition.
2. Map the collection's actual fields
Read the Webflow collection schema before constructing JSON. Use field slugs from that collection, not Airtable's display labels. Option and reference fields need their Webflow values or item IDs. Rich text needs the representation expected by the endpoint. The field-mapping guide explains the relationship between the two systems.
The old article described limits in Make's native module. Check your current module before choosing a custom request; do not assume the older limitation still applies.
3. Create or update using the stored ID
Use Webflow ID in Airtable to route the request.
For a new item, POST to /v2/collections/{collection_id}/items.
For an existing item, PATCH to /v2/collections/{collection_id}/items/{item_id}.
Keep API credentials in the automation connection, rather than public page code.
Webflow documents staged item creation.
A minimal hypothetical create body uses Webflow's standard fields:
{
  "isArchived": false,
  "isDraft": true,
  "fieldData": {
    "name": "Test freelancer",
    "slug": "test-freelancer"
  }
}
Add every custom required field from your collection before submitting.
After creation, store the returned item ID and slug in Airtable.
For an update, send the changed fields to the stored item ID.
Do not clear Update Webflow until the write and ID storage both succeed.
4. Recover without creating duplicates
If Webflow creation succeeds but Airtable ID storage fails, stop the create route. Inspect the successful request response and find the item in Webflow. Store that ID before retrying the record. If you cannot identify the item reliably, send the record for manual review.
Handle overlapping triggers for the same record before the initial ID is stored.
Use a lock or ordered processing and re-read Webflow ID before creating.
Ordered processing alone does not replace duplicate checks.
Make documents incomplete executions for recovery.
5. Check one create and one update
Create a draft item in the test collection and confirm its ID returns to Airtable. Change its name, run the update route, and confirm the same item ID remains. Replay the original trigger and confirm no second item appears. Then simulate a stopped ID-storage step and practise recovery from the saved response.
Staged data and a live page are different results. Keep publishing as an explicit next step after record checks pass.
Keep learning
More guides, free videos and course access for existing members, all in one place.
Go to LearnRather have it built for you?
We'll match you with vetted agentic talent who build it with AI, inside the tools you already use.
Schedule a callRelated posts

Build Custom AI Agents for Other Businesses
Scope a custom business agent around one workflow, approved sources, read-only testing, and human review.
How to Build Custom Webflow CMS Features with ChatGPT & AI
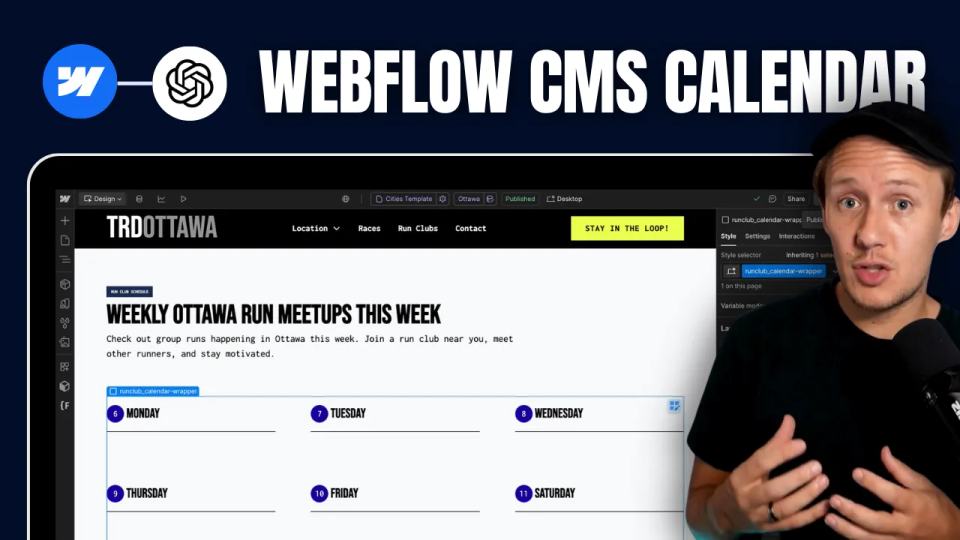
I built a weekly calendar for The Running Directory Canada using Webflow CMS content and ChatGPT-assisted JavaScript. The calendar grouped run-club events by weekday and moved today's day to the front.
How to Map Common Airtable Fields to Webflow CMS
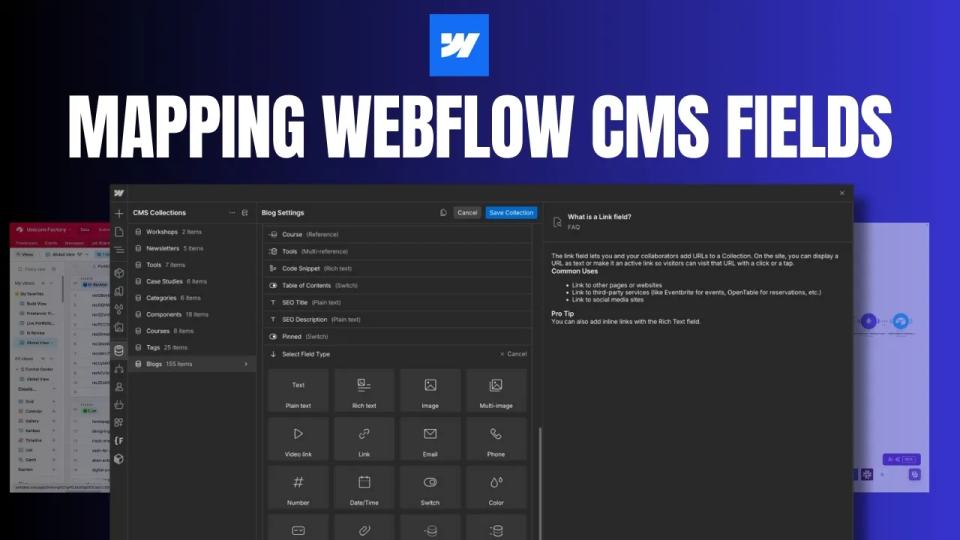
Map Airtable values to Webflow CMS types using option IDs, image objects, deterministic rich text, and staged JSON examples.