
How We Automated Client Follow-Ups on Unicorn Factory
Plan status-based client follow-ups with Make and Airtable, using due dates, stop rules, duplicate checks, and delivery evidence.
 Make
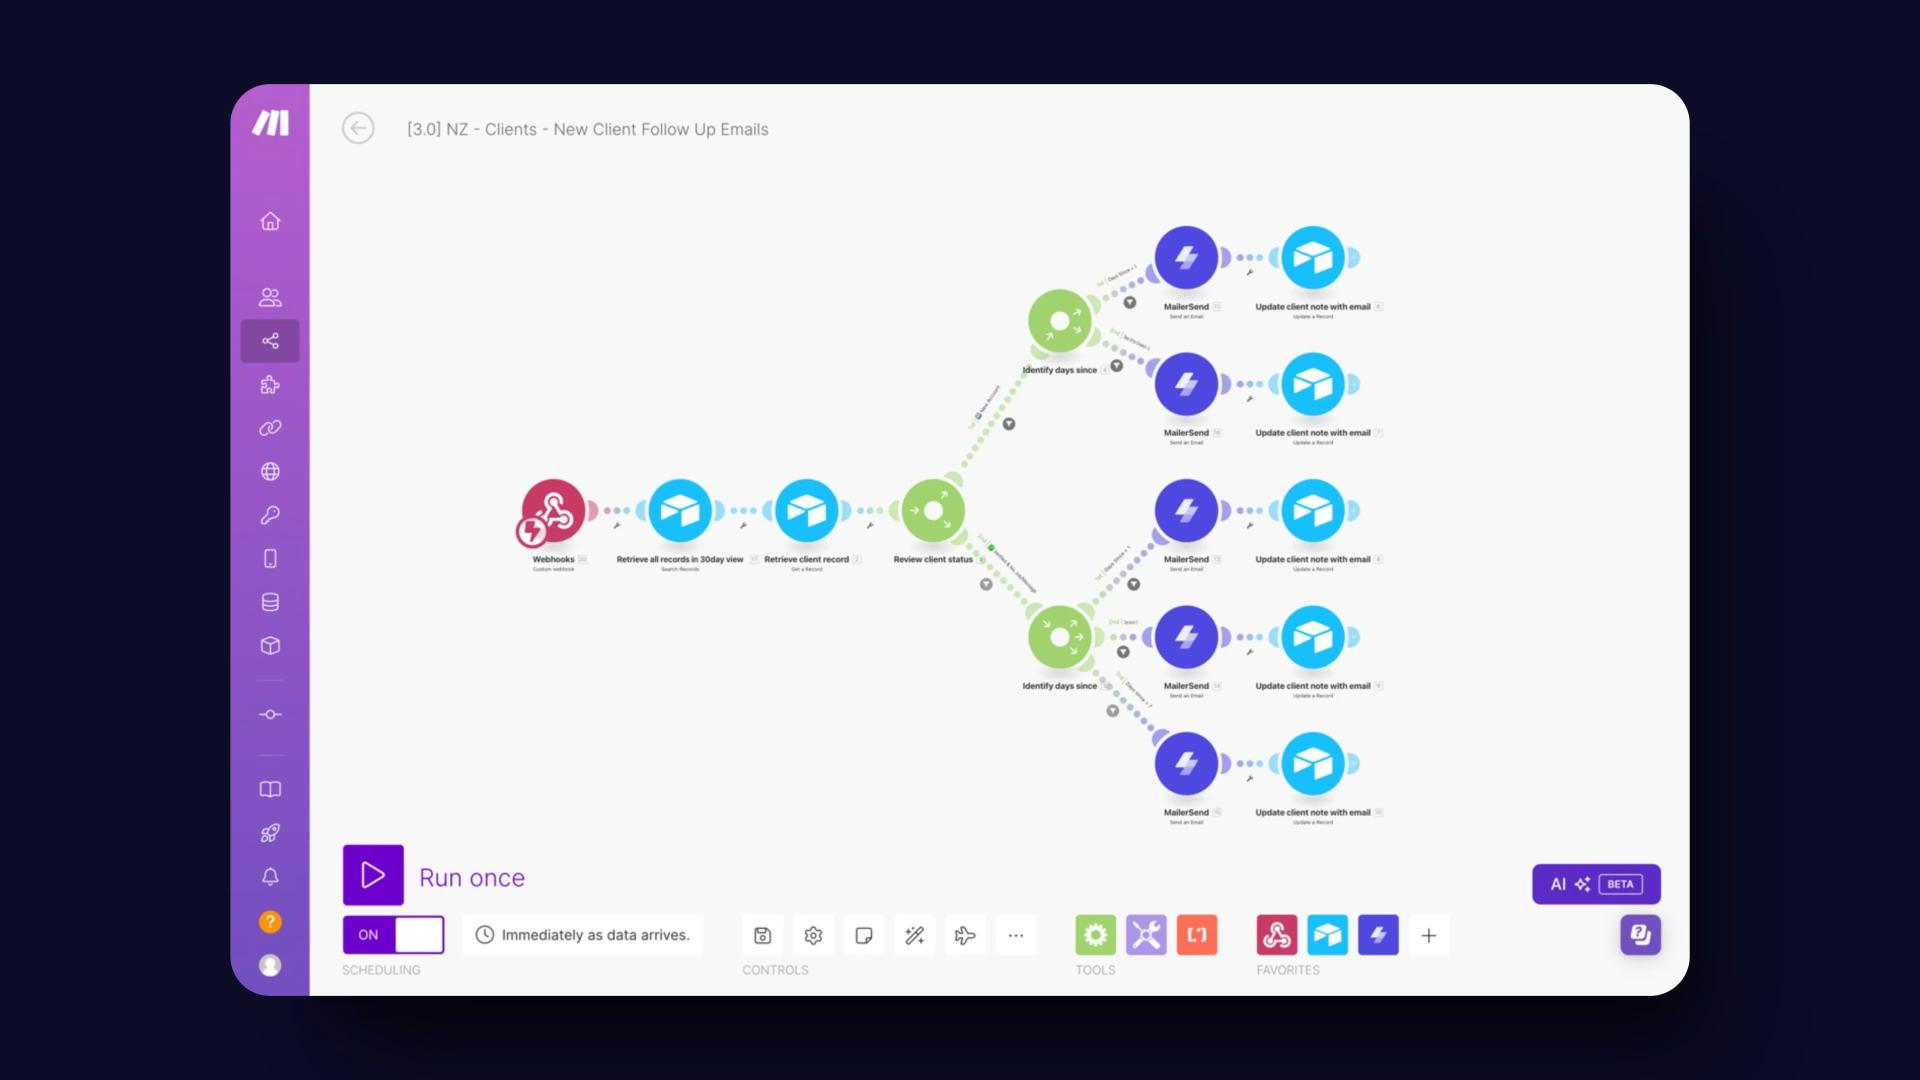
MakeAt Unicorn Factory, the source workflow uses Make and Airtable to organise client follow-ups. A signup triggers the workflow. The client's status determines the message. Each send updates the client record so the next run can see what already happened. Automation still needs scheduling, stop rules, and delivery checks.
Start the sequence with a webhook
Send the client record ID when a signup reaches the agreed trigger condition. The Airtable webhook guide explains this pattern. Retrieve the current record rather than relying on old values in the original event. Confirm the email address and the reason this client belongs in the sequence.
Store a due date instead of waiting inside one run
The original examples send an onboarding reminder after one day and another reminder after a week.
Treat those timings as examples, not rules for every client.
Store Next Follow-up At, Follow-up Step, and Client Status in Airtable.
Run a scheduled scenario that finds records due for review or sending.
Use one agreed timezone for the due date.
Check the status immediately before sending
A client can complete onboarding or reply after the sequence starts. Re-read the record before each message. Stop when the client replies, completes the requested action, unsubscribes, or needs manual support. Pause records with a missing address, failed delivery, or unclear status. Do not keep sending because an earlier event said the client was incomplete.
Personalise with accurate information
Use the client's name and actual next action. For a hypothetical onboarding reminder, link to the unfinished step and explain why it is needed. Do not claim a client is inactive without checking their current record. Review each message template before connecting the send action.
Record the send and prevent duplicates
Use a unique key combining the client ID and follow-up step. Check that key before sending and coordinate overlapping runs for the same client. Store the provider's message ID, send time, template, and result. Update the follow-up step only after the provider accepts the message.
If sending succeeds but record storage fails, inspect the provider before retrying. A complete scenario history does not prove the message arrived in the inbox. Check provider delivery, bounce, and rejection events separately. Make's recovery guide explains retrying from the failed module.
Test the sequence with permitted recipients
Use a test table and an address you control. Check a due client, a completed client, a replied client, and a repeated trigger. Only the due client should receive the approved message once. Simulate a stopped record-update step and recover using the provider message ID.
Measure manual review time, completed onboarding, replies, bounces, and duplicate sends. Start with one reminder before expanding the sequence.
Keep learning
More guides, free videos and course access for existing members, all in one place.
Go to LearnRather have it built for you?
We'll match you with vetted agentic talent who build it with AI, inside the tools you already use.
Schedule a callRelated posts

Build Custom AI Agents for Other Businesses
Scope a custom business agent around one workflow, approved sources, read-only testing, and human review.
How to Build Custom Webflow CMS Features with ChatGPT & AI
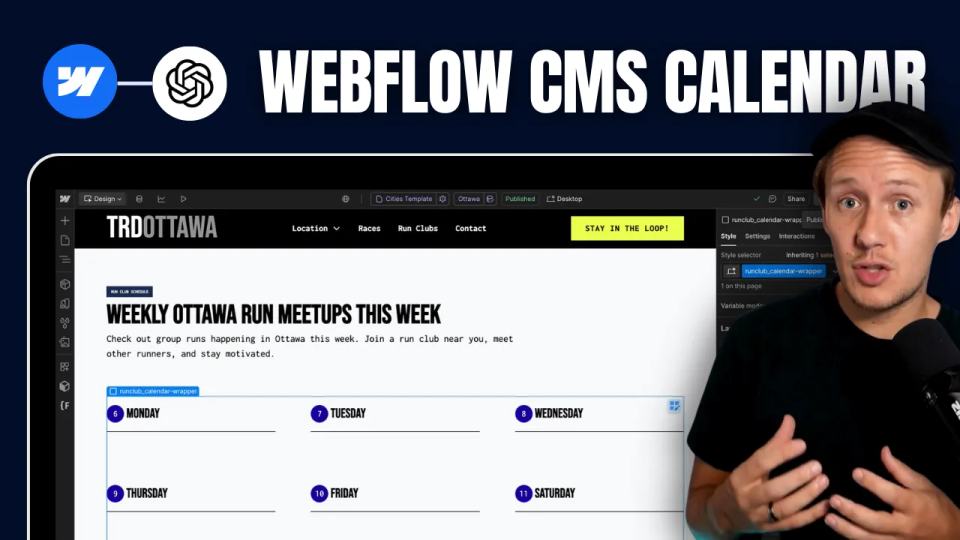
I built a weekly calendar for The Running Directory Canada using Webflow CMS content and ChatGPT-assisted JavaScript. The calendar grouped run-club events by weekday and moved today's day to the front.
How to Map Common Airtable Fields to Webflow CMS
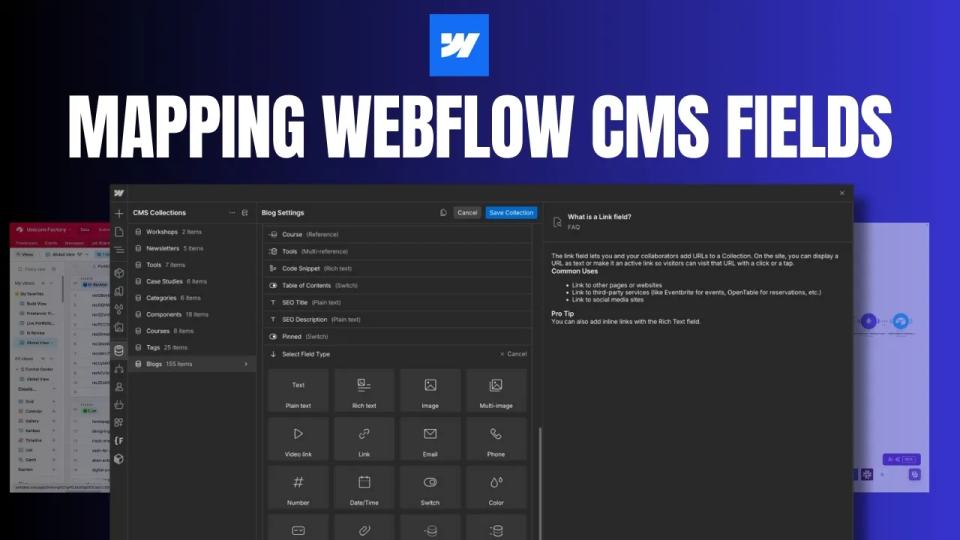
Map Airtable values to Webflow CMS types using option IDs, image objects, deterministic rich text, and staged JSON examples.