
How To Hide and Show Elements in Memberstack
Use Memberstack 2.0 visibility attributes for login and plan states while enforcing private data access separately.

 Memberstack
Watch the original Memberstack visibility tutorial
On membership and marketplace sites, you often need different UI for logged-in users vs visitors. A freelancer profile might show a contact form to members and a "Sign up to contact" CTA to everyone else.
Memberstack 2.0 makes this straightforward with data-ms-content attributes — no custom JavaScript required.
What You'll Need
- A Webflow site with a profile or member page
- Memberstack 2.0 connected to your project
The Pattern: Two Div Blocks
On your profile page, create two wrapper div blocks inside your content section:
- Form logged in — content only members should see (contact form, messaging, portfolio editor)
- Form logged out — content for visitors (sign-up CTA, login prompt)
Name them clearly so you don't mix them up during setup. The names don't affect functionality — they're for your sanity.
Show Content to Logged-In Members
Select the div block that should only appear for logged-in users (e.g. your contact form).
Add this custom attribute:
| Attribute | Value |
|---|---|
data-ms-content | members |
Memberstack checks login status on page load. If the user is logged in, this block renders. If not, it's hidden.
Hide Content from Logged-In Members
Select the div block for visitors (e.g. your sign-up / login CTA).
Add the same attribute with an inverted value:
| Attribute | Value |
|---|---|
data-ms-content | !members |
The exclamation mark inverts the rule — this block shows only when the user is not logged in.
Apply It Across Your Site
This pattern works on any element, not just forms:
- Hide location or portfolio sections from logged-out visitors
- Show premium content blocks only to paying members (plan-level rules work too)
- Show messaging, review, or booking controls after login
Wrap the section in a div, add data-ms-content="members", publish, and test.
Test Before You Ship
- Publish your Webflow site.
- Log in and confirm the contact form (or member-only block) is visible.
- Log out and reload the same page.
- Confirm the form is hidden and the CTA appears instead.
If both blocks show at once, double-check the attribute values — members vs !members — and make sure attributes are on the wrapper div, not nested incorrectly.
Key Takeaways
- Use
data-ms-content="members"to show content to logged-in users - Use
data-ms-content="!members"to show content to logged-out visitors - Wrap related elements in div blocks so you toggle whole sections at once
- Works with Memberstack plan rules for paid-tier content
- These examples use Memberstack 2.0 attributes
Add plan visibility without confusing it with protection
Memberstack’s current attribute reference lists these additional values:
| Value | Visible to |
|---|---|
no-plans | Logged-in members without a plan |
free-plans | Members with an active free plan |
paid-plans | Members with an active paid plan |
CONTENT-ID | Members allowed by the configured gated-content permission |
Use the actual generated Content ID for a specific permission. Do not replace it with a plan's display name.
!paid-plans also matches logged-out visitors. Nest it inside a members wrapper when targeting only signed-in nonpaying members.
These attributes control visibility. They do not protect sensitive information already sent to the browser. Enforce private reads and writes through a trusted data service that checks identity and ownership. Test direct unauthorized requests as well as the visible page. Start with Memberstack membership setup when your project lacks authentication.
Keep learning
More guides, free videos and course access for existing members, all in one place.
Go to LearnRather have it built for you?
We'll match you with vetted agentic talent who build it with AI, inside the tools you already use.
Schedule a callRelated posts

Build Custom AI Agents for Other Businesses
Scope a custom business agent around one workflow, approved sources, read-only testing, and human review.
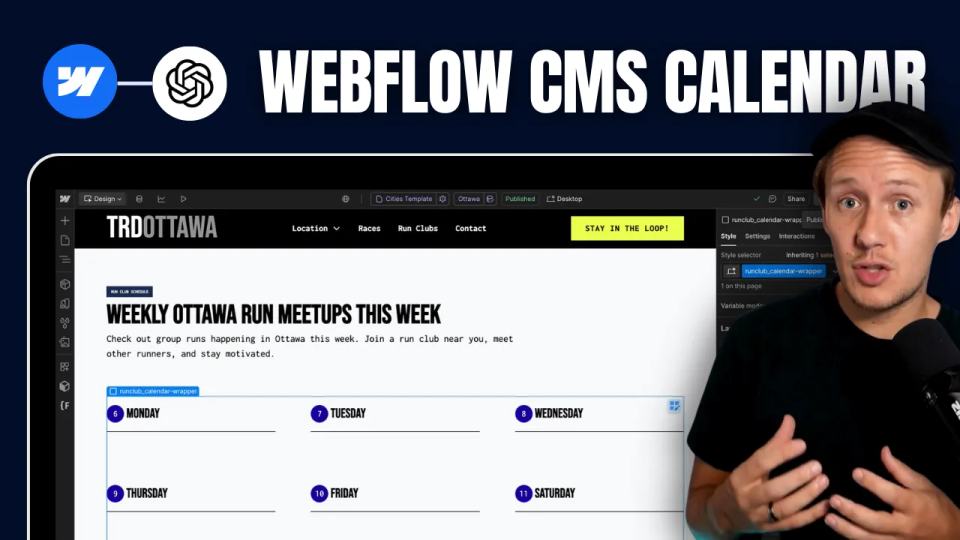
How to Build Custom Webflow CMS Features with ChatGPT & AI
I built a weekly calendar for The Running Directory Canada using Webflow CMS content and ChatGPT-assisted JavaScript. The calendar grouped run-club events by weekday and moved today's day to the front.
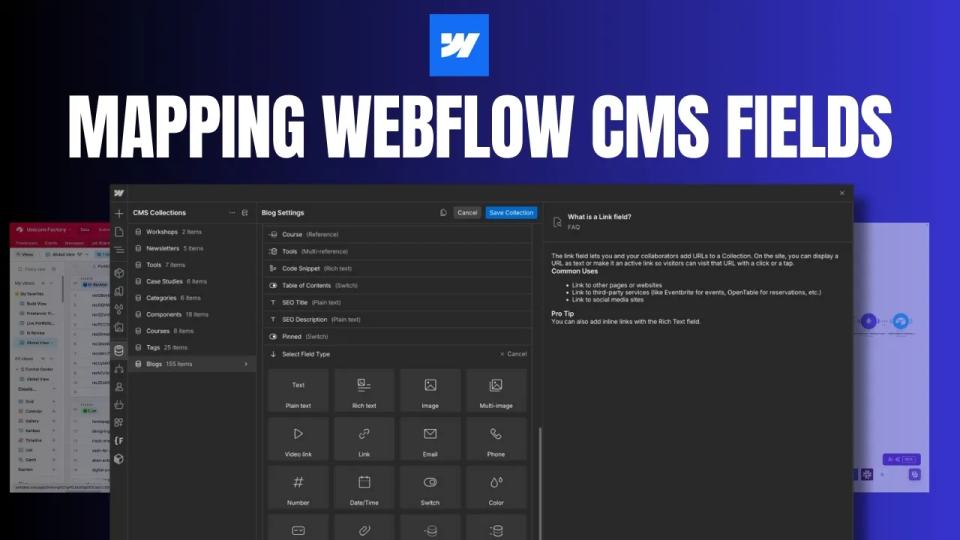
How to Map Common Airtable Fields to Webflow CMS
Map Airtable values to Webflow CMS types using option IDs, image objects, deterministic rich text, and staged JSON examples.