
Convert Webflow CMS Images to WebP with Kraken and Make
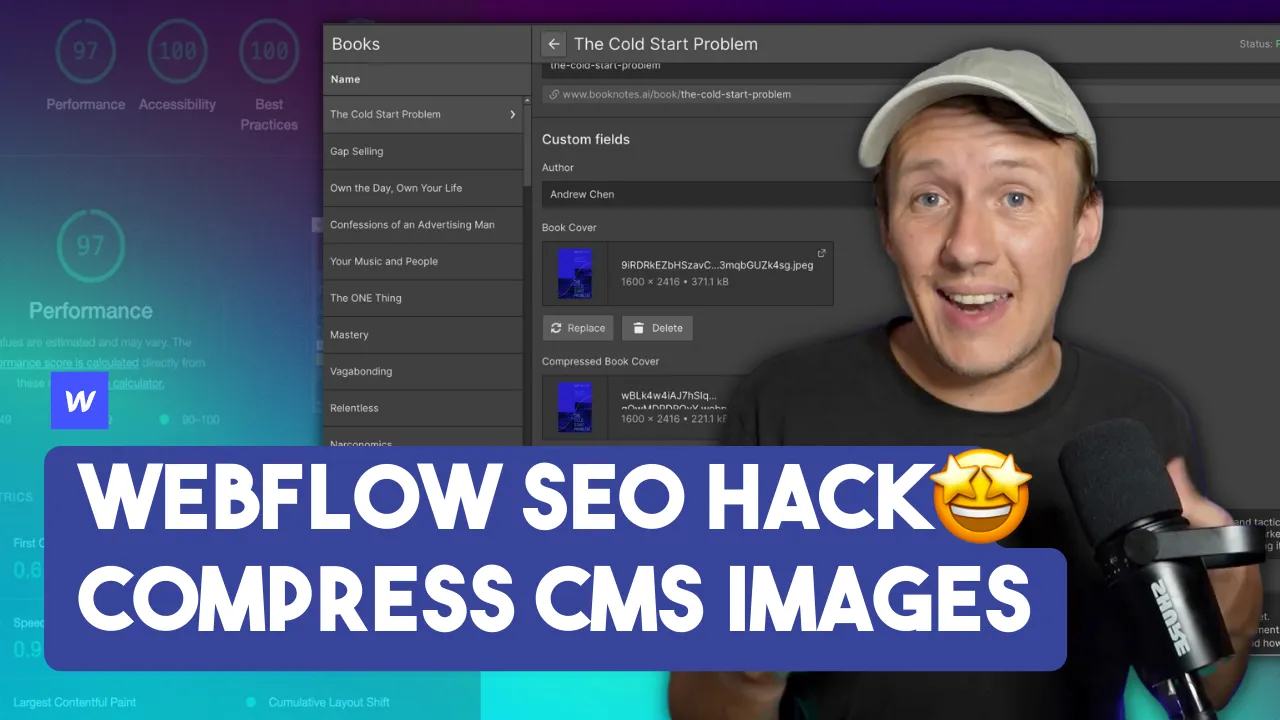
This workflow converts CMS images from PNG or JPEG to WebP using Kraken.io and Make. I originally used Airtable as the image source, with Webflow as the publishing.
 Webflow
This workflow converts CMS images from PNG or JPEG to WebP using Kraken.io and Make. I originally used Airtable as the image source, with Webflow as the publishing destination. Measure the result before claiming a performance improvement.
Keep the original image
Create a separate compressed-image field in Webflow and an attachment field in Airtable when you use both tools. Preserve the source image rather than overwriting it immediately. This example covers one image per record, not gallery images.
Retrieve the source image URL from Airtable or Webflow. Confirm Kraken can access it without private credentials. You need a Kraken API key and secret. Keep both in your automation's private configuration. Kraken is an affiliate link.
Send the conversion request
In Make, use an HTTP POST to https://api.kraken.io/v1/url with JSON content.
Kraken documents format conversion through the convert object.
An illustrative request is:
{
  "auth": {"api_key": "YOUR_API_KEY", "api_secret": "YOUR_API_SECRET"},
  "url": "https://example.com/original-image.jpg",
  "wait": true,
  "lossy": true,
  "convert": {"format": "webp"}
}
Use your actual private credentials and source URL in the automation.
wait: true asks for the result in the response.
For longer processing, use Kraken's callback approach instead of assuming every request finishes immediately.
Save only a successful result
Inspect the HTTP status and response body.
Require success: true and a nonempty kraked_url before saving the output.
A successful HTTP transport alone does not establish a successful conversion.
Configure Make's error route for transport errors and API-level failures.
Store the returned image in Airtable or Webflow's separate target field. Check the rendered image, dimensions, transparency, and visible quality before switching the layout to use it. Record source URL, output URL, source size, output size, and conversion status for later review.
Run a small batch first
Use a copied site or permitted draft records. Skip records already converted from the same source version. When the source changes, mark that version for a new conversion. A blanket nonempty-output filter can otherwise leave stale images.
Compare bytes and run Lighthouse before and after. A hypothetical reduction from 400 KB to 160 KB is 60%; it is not a measured result from this guide. Page speed also depends on image dimensions, loading behavior, scripts, and network conditions.
For an Airtable scripting alternative, see Kyle's NoCodeCollab lesson. It provides another way to approach the image workflow.
Keep learning
More guides, free videos and course access for existing members, all in one place.
Go to LearnRather have it built for you?
We'll match you with vetted agentic talent who build it with AI, inside the tools you already use.
Schedule a callRelated posts

Build Custom AI Agents for Other Businesses
Scope a custom business agent around one workflow, approved sources, read-only testing, and human review.
How to Build Custom Webflow CMS Features with ChatGPT & AI
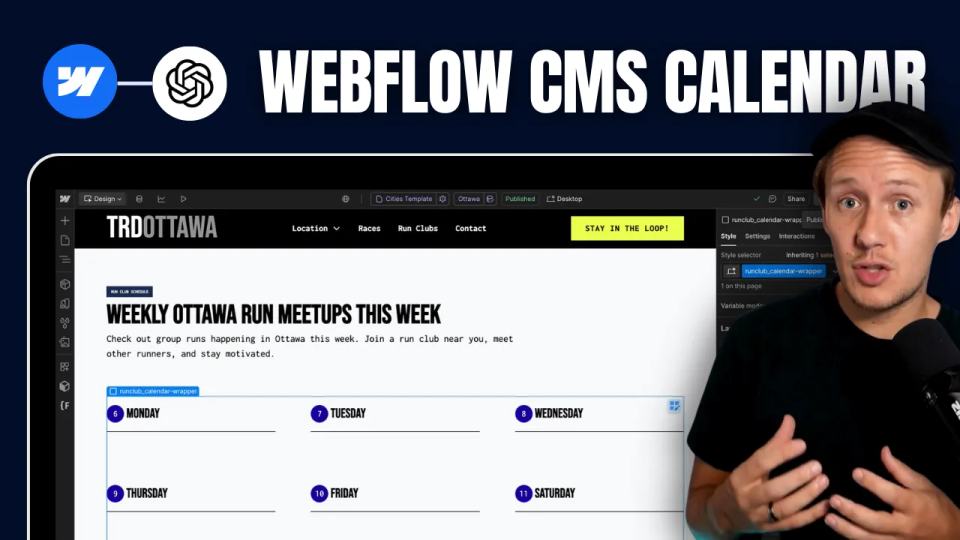
I built a weekly calendar for The Running Directory Canada using Webflow CMS content and ChatGPT-assisted JavaScript. The calendar grouped run-club events by weekday and moved today's day to the front.
How to Map Common Airtable Fields to Webflow CMS
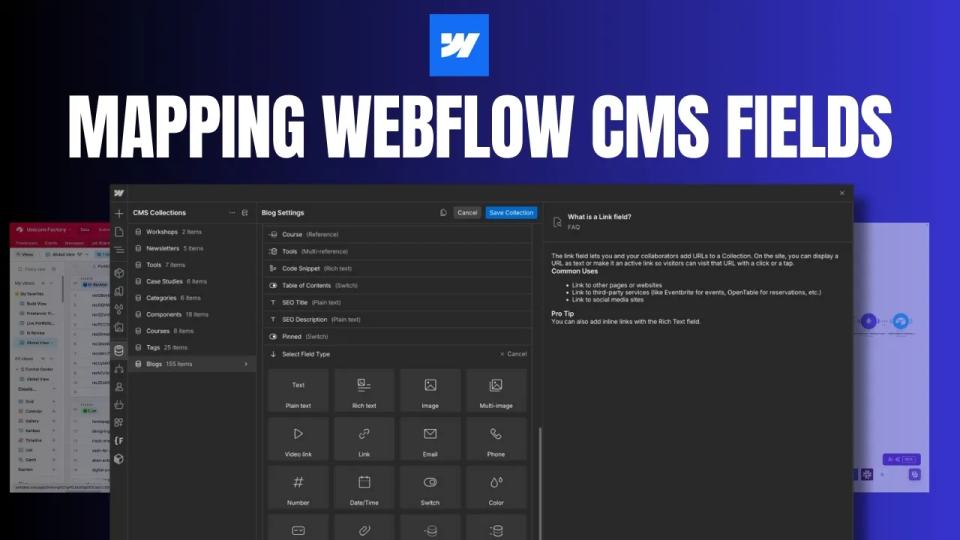
Map Airtable values to Webflow CMS types using option IDs, image objects, deterministic rich text, and staged JSON examples.