
How To Create A User Generated Testimonial Feature
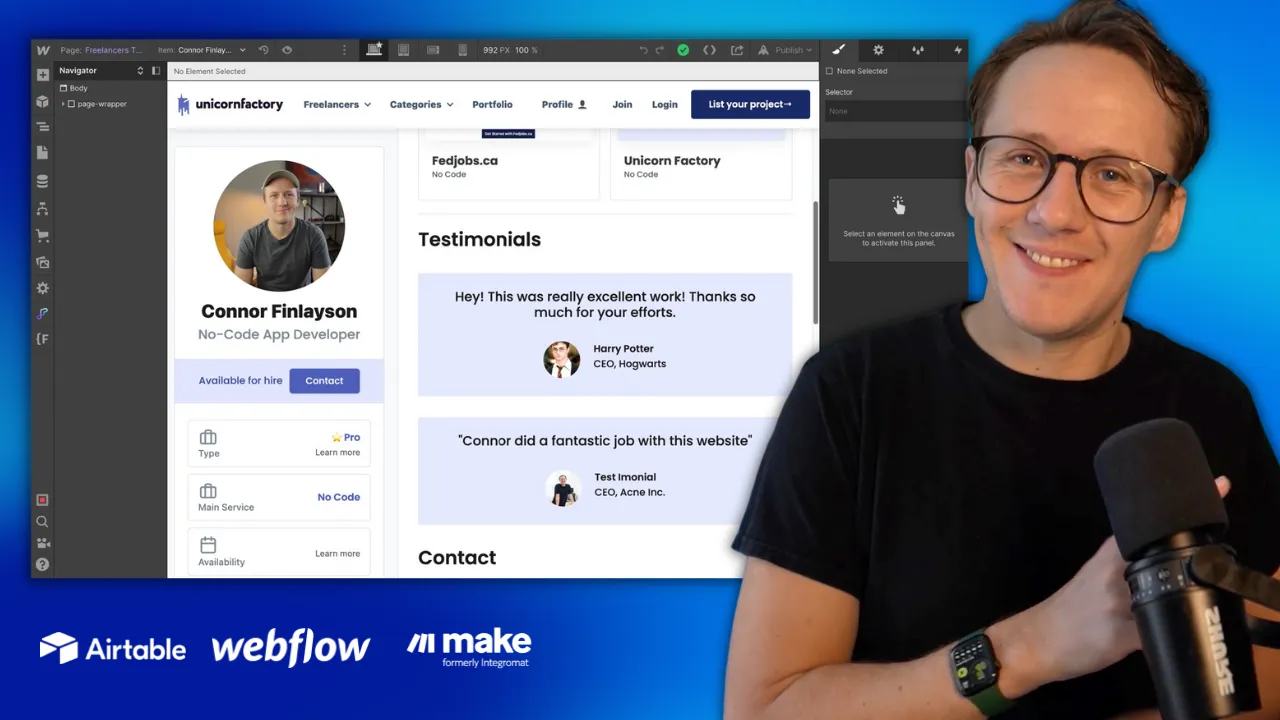
Build linked testimonial collections in Webflow and match approved Airtable testimonials to one CMS item.
 Airtable
 Webflow
 Make
MakeHow to Design and Style a Testimonial Section in Webflow
The first step is to design the layout for your testimonial section in Webflow. Start by deciding where this section will fit within your existing site. For example, you might add it beneath a freelancer’s profile or a product page. To speed up the design process, you can use pre-designed components from tools like Relume, which offers a variety of layouts for Webflow. Simply copy your preferred testimonial layout, paste it into your Webflow project, and customize the styles to fit your branding. After structuring the section, refine the design by adding elements such as the client’s name, job title, company, and testimonial text. Keep the layout clean and readable for a polished look.
Setting Up Linked Collections in Webflow CMS
Dynamic content is the heart of this workflow. In Webflow CMS, create a new collection called “Testimonials” with fields for:
- Testimonial text
- Client name
- Job title and company
- Client image
Next, add a reference field to link testimonials to other collections, such as freelancers or products. This connection ensures each testimonial is displayed on the correct CMS page. Not sure how to structure your collections? Check out my guide on structuring Webflow CMS workflows for additional tips.
How to Organize Data with Airtable
Managing your testimonial data in Airtable makes it easy to scale as your business grows. Start by creating a table with fields matching your Webflow CMS, including a status field for approval workflows. Airtable’s flexibility lets you handle everything from client information to approval statuses seamlessly. For more insights into using Airtable effectively, see managing marketplace data in Airtable.
Automating Testimonial Management with Make.com
Automation is where the magic happens. Using Make.com, you can connect Airtable to Webflow, ensuring that approved testimonials are automatically added to your site. Here’s a quick outline of the workflow:
- Trigger: Set Make.com to watch Airtable for new or updated records in a filtered view (e.g., “Approved Testimonials”).
- Action 1: Send the testimonial data from Airtable to Webflow, mapping each field appropriately.
- Action 2: Update Airtable with the Webflow item ID for future reference.
For a deeper dive into Make.com’s capabilities, read my tutorial on marketplace workflows with Make.
Scaling and Enhancing Your Testimonial Section
Once the basics are in place, you can scale this feature further:
- Client Submission Forms: Allow clients to submit testimonials directly via a Webflow or Airtable form. Use a form that stores submissions as pending approval.
- Star Ratings or Custom Fields: Add new fields to enhance the testimonial display, like a star rating system or optional logos.
As you grow, these additions will help you maintain a professional, scalable system.
Create once, then update by ID
Add Source Record ID, Webflow ID, Approved, and Permission to Publish to your Airtable records.
Suppose a client approves a testimonial for freelancer A. Store the exact approved text and the correct freelancer reference.
When Webflow ID is empty, create a draft CMS item. Save the returned ID against the source testimonial.
When that ID exists, update the same item. A typo correction should not create a second testimonial.
Use a Webflow reference field containing the freelancer’s CMS item ID. Filter the profile’s testimonial list by that reference.
Webflow’s item creation reference documents fieldData and draft creation.
Check approval and display
Create one approved test testimonial and one unapproved testimonial. Confirm only the approved testimonial reaches the intended profile.
Update its text and confirm the same item changes. Test the no-testimonial state on desktop and mobile.
Recheck permission when content changes. Removing approval should trigger your explicit unpublish process, rather than silently leaving old text live.
Collect the source text through Webflow form submissions before connecting the publish workflow.
Original video
Keep learning
More guides, free videos and course access for existing members, all in one place.
Go to LearnRather have it built for you?
We'll match you with vetted agentic talent who build it with AI, inside the tools you already use.
Schedule a callRelated posts

Build Custom AI Agents for Other Businesses
Scope a custom business agent around one workflow, approved sources, read-only testing, and human review.
How to Build Custom Webflow CMS Features with ChatGPT & AI
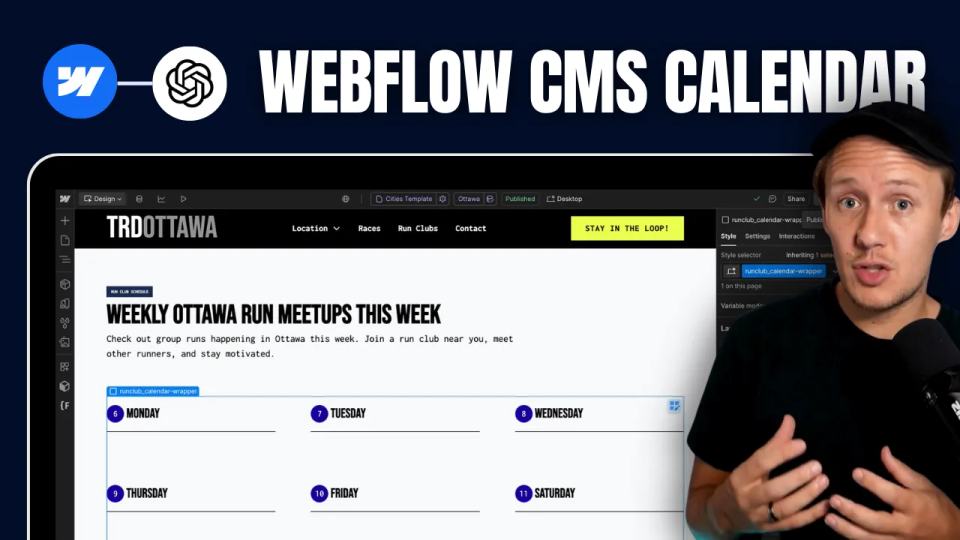
I built a weekly calendar for The Running Directory Canada using Webflow CMS content and ChatGPT-assisted JavaScript. The calendar grouped run-club events by weekday and moved today's day to the front.
How to Map Common Airtable Fields to Webflow CMS
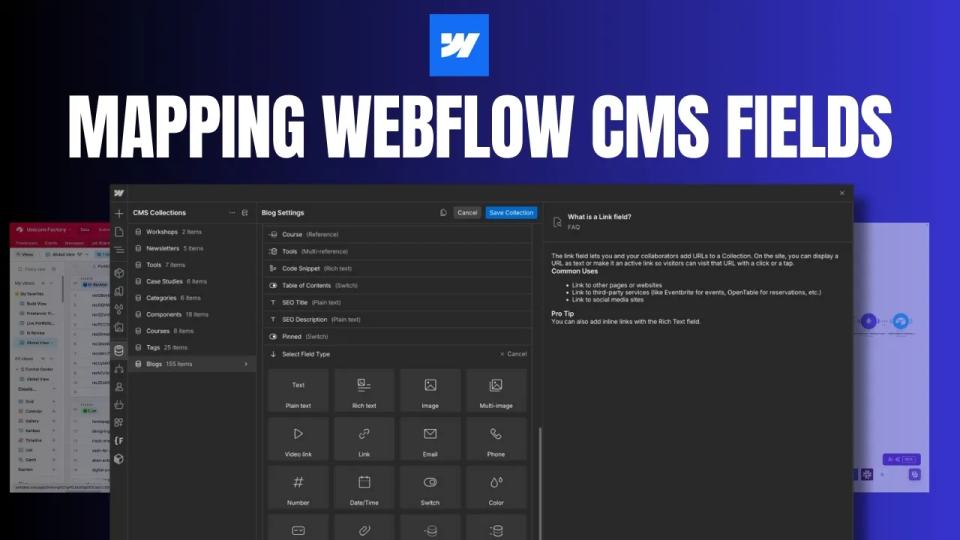
Map Airtable values to Webflow CMS types using option IDs, image objects, deterministic rich text, and staged JSON examples.