
Follow These 5 Steps To Build New Features
This five-step process starts with the outcome a customer needs. My original Unicorn Factory example focused on contacting a freelancer.
This five-step process starts with the outcome a customer needs. My original Unicorn Factory example focused on contacting a freelancer.
For the companion overview, plan a no-code MVP in five steps. This page keeps the bio, contact form, and field examples from the original walkthrough.
1. Define the outcome
Ask what a customer should complete. For Unicorn Factory, I wanted clients to contact freelancers through a profile form. The first page needed a bio and a contact section. Portfolios and testimonials could follow after feedback showed they helped that decision.
Write one outcome before choosing more features. Review what to do before building a marketplace if the customer need remains unclear.
2. Sketch the page
Use Figma or pen and paper. Decide which information explains the offer and which action follows it. In the freelancer example, the bio appears before the contact form. The layout helps the buyer understand the person before sending an enquiry.
Use realistic text lengths. A one-line placeholder can hide problems that a real bio creates. If portfolios support the decision, review building a portfolio gallery.
3. Build a static version
Recreate the sketch in Webflow using fixed content first. Check desktop and phone layouts before adding dynamic data. Use realistic names, job titles, and profile pictures with permission to use them.
Identify which elements change between profiles. Those become candidates for CMS fields. Improve your Webflow building process with reusable classes before duplicating pages.
4. Create the CMS and source fields
Use plain text for names and job titles, image fields for profile photos, and Rich Text for bios. I used my own profile as an early example. Real content exposed layout problems that filler text missed.
If Airtable manages the source records, choose matching field types there. Attachments produce different values from text fields, so review the actual data shape. Decide which tool owns each field before allowing edits in both places. Map Airtable fields to Webflow before enabling a full sync.
5. Automate the data path
Connect the source record to Webflow through Make or Zapier. When a new profile is approved, create the CMS item and save its returned Webflow item ID. Use that ID for later updates. Repeated runs should not create another profile.
Separate updating staged content from publishing the site. Webflow's CMS API explains staged and live records. For the wider workflow, review marketplace automation with Make.
Test the complete path
Use one fake profile and a test enquiry. Confirm the page displays the right data and the form reaches the intended record. Disable real email and billing actions during the first test. Check a repeated update, a missing required field, and the mobile form layout.
Your next step is to sketch one page with a clear action. Then build a marketplace MVP in Webflow around that action.
Original video
Watch the original video on Follow These 5 Steps To Build New Features.
Keep learning
More guides, free videos and course access for existing members, all in one place.
Go to LearnRather have it built for you?
We'll match you with vetted agentic talent who build it with AI, inside the tools you already use.
Schedule a callRelated posts

Build Custom AI Agents for Other Businesses
Scope a custom business agent around one workflow, approved sources, read-only testing, and human review.
How to Build Custom Webflow CMS Features with ChatGPT & AI
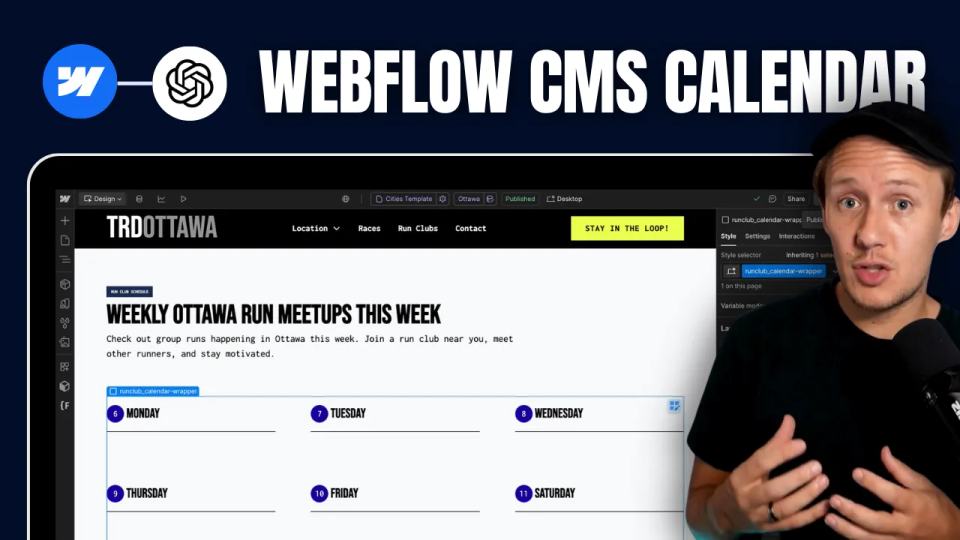
I built a weekly calendar for The Running Directory Canada using Webflow CMS content and ChatGPT-assisted JavaScript. The calendar grouped run-club events by weekday and moved today's day to the front.
How to Map Common Airtable Fields to Webflow CMS
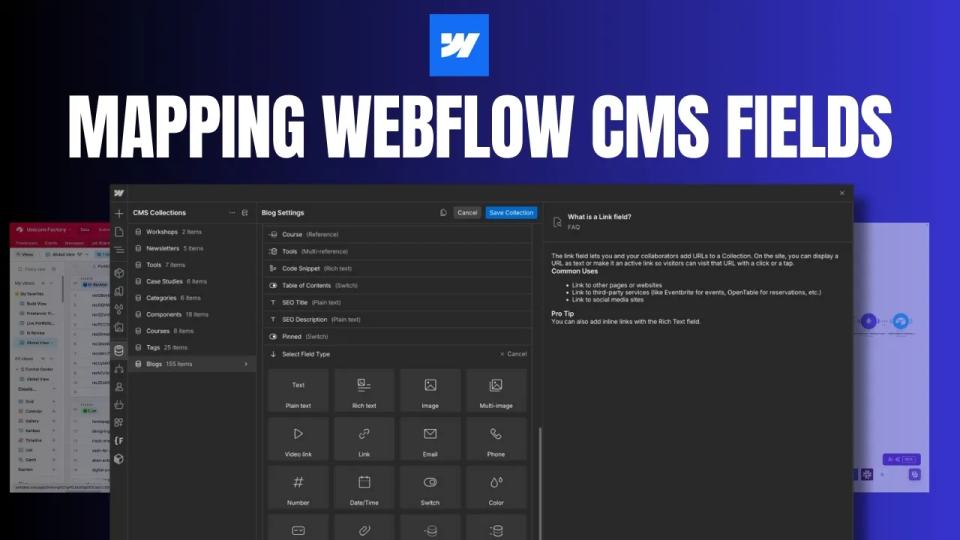
Map Airtable values to Webflow CMS types using option IDs, image objects, deterministic rich text, and staged JSON examples.