
How to Track Webflow CMS Form Submissions Easily | Step-by-Step Guide
If one form appears across your CMS pages, each submission needs a useful page identifier. For workshops, pass the workshop name or slug through a hidden input. Then.
 Airtable
 Webflow
 Make
MakeIf one form appears across your CMS pages, each submission needs a useful page identifier. For workshops, pass the workshop name or slug through a hidden input. Then send that value to Airtable with the rest of the enquiry.
Add the field inside the form
Open the CMS template and add an Embed inside the actual form element.
<input type="hidden" id="workshopName" name="workshopName" value="">
In Webflow's Embed editor, use Add field to insert the CMS Name field between the value quotes.
For a workshop named Airtable Basics, the published HTML should contain value="Airtable Basics".
Use a slug or persistent ID if names can change.
The input needs a name, a value, and association with the submitted form.
Its position before or after the submit button does not determine whether it submits.
Keep the input enabled and inspect the published page's HTML.
Name the form workshop-form. Give visible inputs clear names, such as email, first-name, and last-name.
Receive a real sample
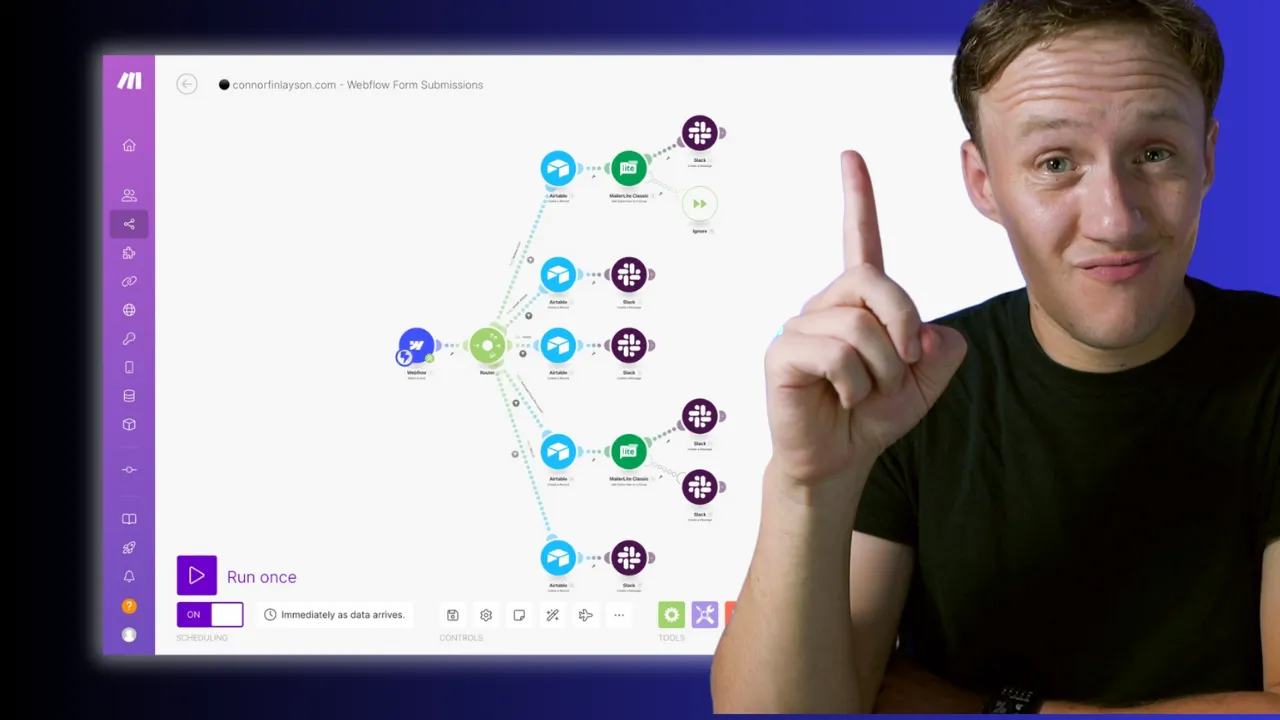
Connect your site to Make's Webflow form-submission trigger. Module labels can vary with connector versions. Run once and submit a test on a permitted test page. Inspect the payload before mapping fields. Webflow documents the form-submission event, including form data and submission identifiers.
Your field data should include values like this illustrative fragment:
{
  "email": "test@example.com",
  "first-name": "Alex",
  "last-name": "Lee",
  "workshopName": "Airtable Basics"
}
Test two different CMS pages. Their workshopName values should differ.
If you prefer Airtable's receiver, connect form webhooks directly.
Map the submission
| Submitted field | Airtable field |
|---|---|
| first-name | First name |
| last-name | Last name |
| workshopName | Source / Campaign name |
| Submission identifier | Submission ID |
Use a text field for source names initially. Avoid automatically creating linked records from unreviewed input.
Check Submission ID before creating another record during retries.
Use Make's now for processing time. Preserve the original submission timestamp separately when available.
Route the correct form
Filter by the exact form name workshop-form before running workshop actions.
Give newsletters and other forms separate routes.
Test a different form to confirm it does not enter this route.
MailerLite segmentation, Slack alerts, and custom replies can follow the stored lead. Use permitted recipients during testing. A workshop enquiry alone does not establish newsletter consent. If your next form collects feedback, connect testimonials to the CMS after reviewing submissions.
[Watch the original Tella lesson on tracking CMS form submissions](https://www.tella.tv/video/clza0b69k001c09k03tp8dszm).Keep learning
More guides, free videos and course access for existing members, all in one place.
Go to LearnRather have it built for you?
We'll match you with vetted agentic talent who build it with AI, inside the tools you already use.
Schedule a callRelated posts

Build Custom AI Agents for Other Businesses
Scope a custom business agent around one workflow, approved sources, read-only testing, and human review.
How to Build Custom Webflow CMS Features with ChatGPT & AI
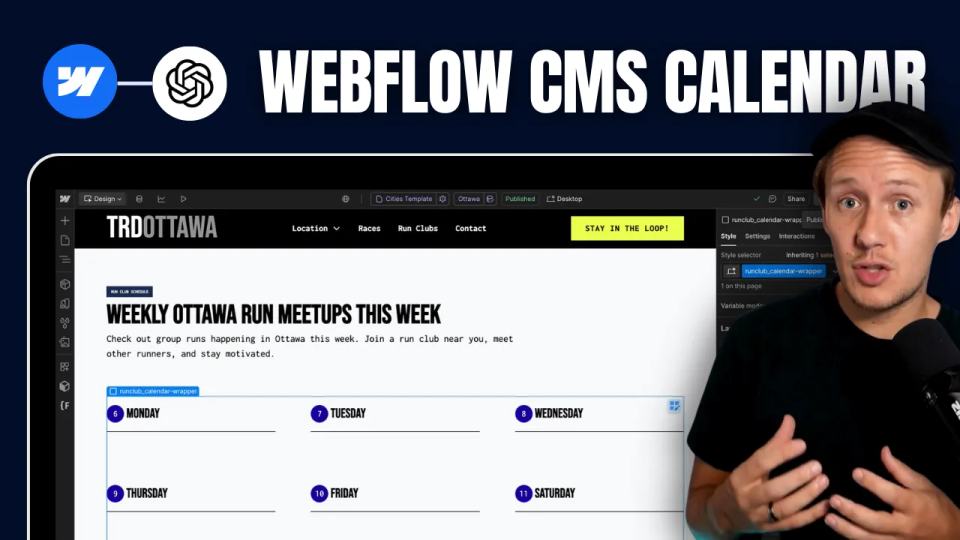
I built a weekly calendar for The Running Directory Canada using Webflow CMS content and ChatGPT-assisted JavaScript. The calendar grouped run-club events by weekday and moved today's day to the front.
How to Map Common Airtable Fields to Webflow CMS
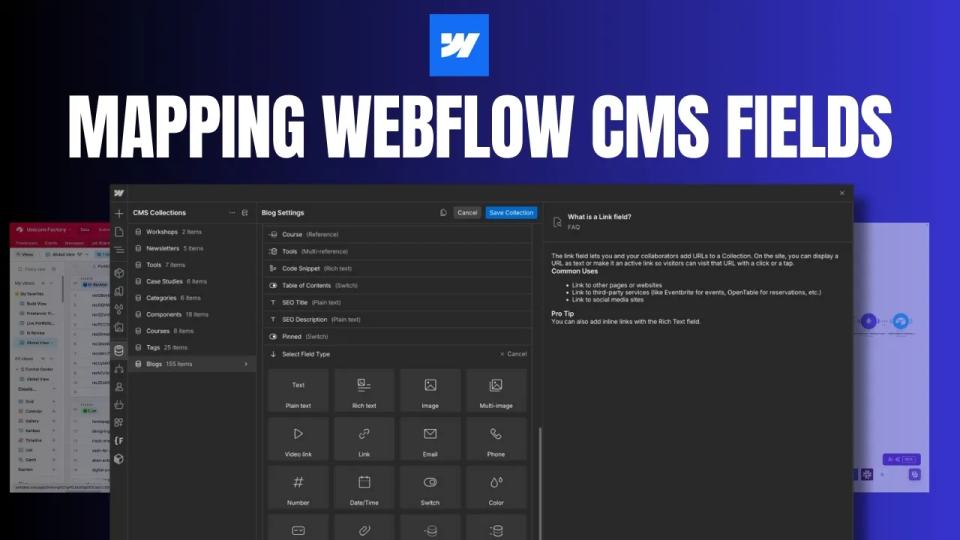
Map Airtable values to Webflow CMS types using option IDs, image objects, deterministic rich text, and staged JSON examples.